With this JetSmartFilters walkthrough, you can learn how to add filtering capabilities to your listings and products. It integrates seamlessly with Elementor and JetEngine, providing a user-friendly interface for creating and managing filters.
Prerequisites
Ensure you have the following installed and activated:
Setting Up JetSmartFilters
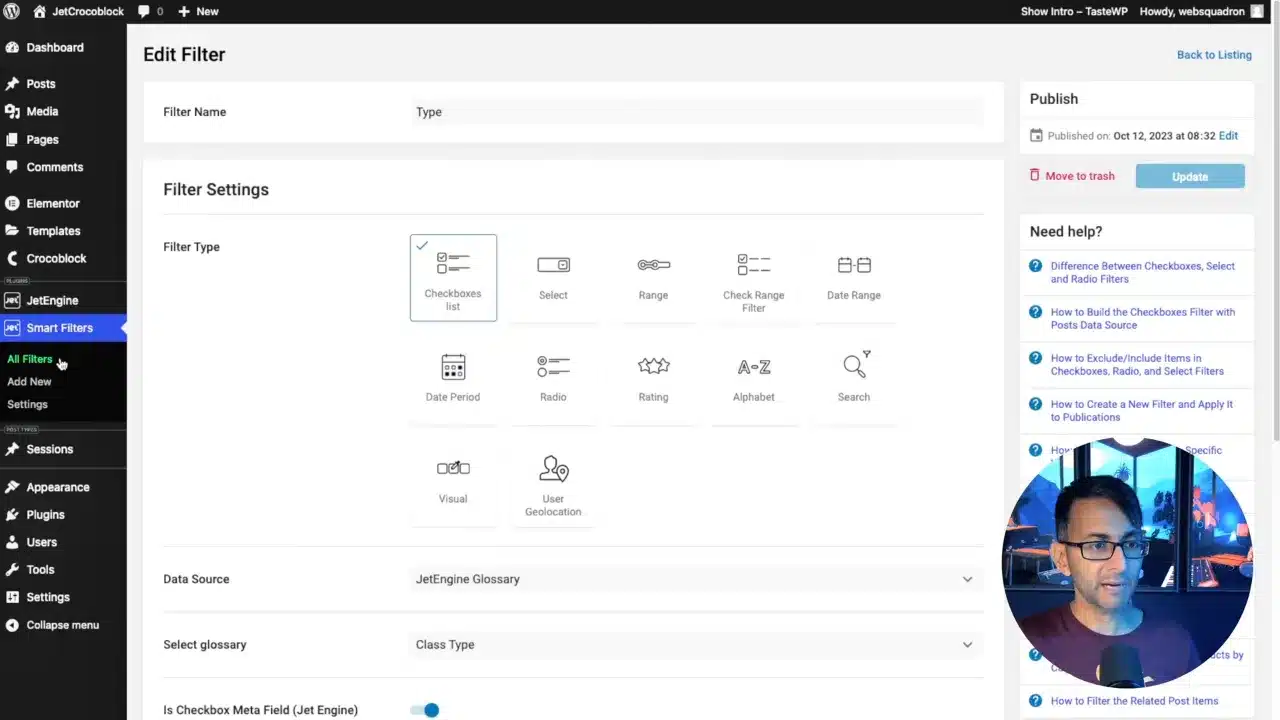
To set up JetSmartFilters, navigate to the JetSmartFilters section in your WordPress dashboard. Create a new filter, specify its type, and configure settings to match your site’s needs.
Tip: Always test your filters in a staging environment before going live to ensure they work as expected.
Creating Your First Filter
Start with a ‘checkbox’ filter. Assign it to a data source and set the query variable. This variable is crucial as it links your filter to the content it will be filtering.
Trick: Use descriptive names for your query variables to keep track of multiple filters easily.
Understanding Filter Types and Data Sources
JetSmartFilters offers a variety of filter types. Choose one that best fits the content you’re filtering. Data sources can be post meta, taxonomies, or specific fields created with JetEngine.
Tip: For complex sites, use a combination of filter types to provide a comprehensive filtering system.
Building and Applying Checkbox Filters
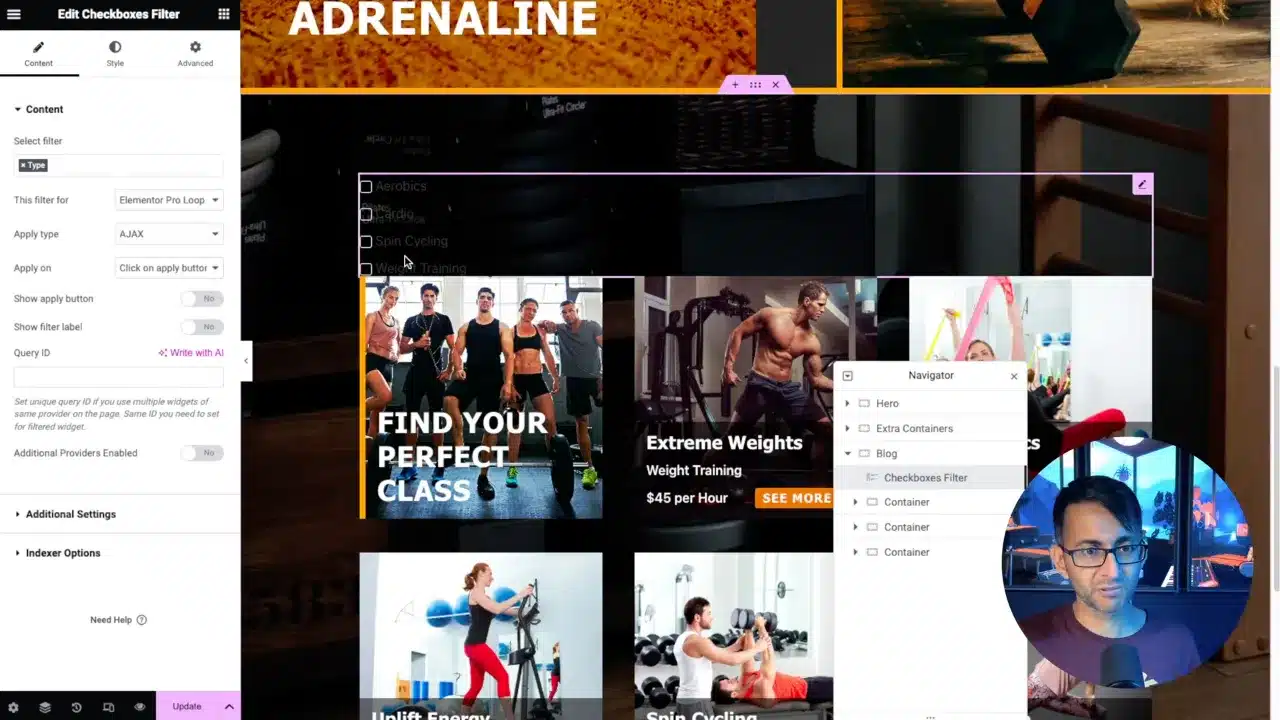
Implement checkbox filters by adding them to your page with Elementor. Decide between AJAX or page reload methods based on your preference for user experience.
Trick: AJAX methods provide a smoother experience by filtering results without reloading the page.
Styling Filters and Adjusting Layouts
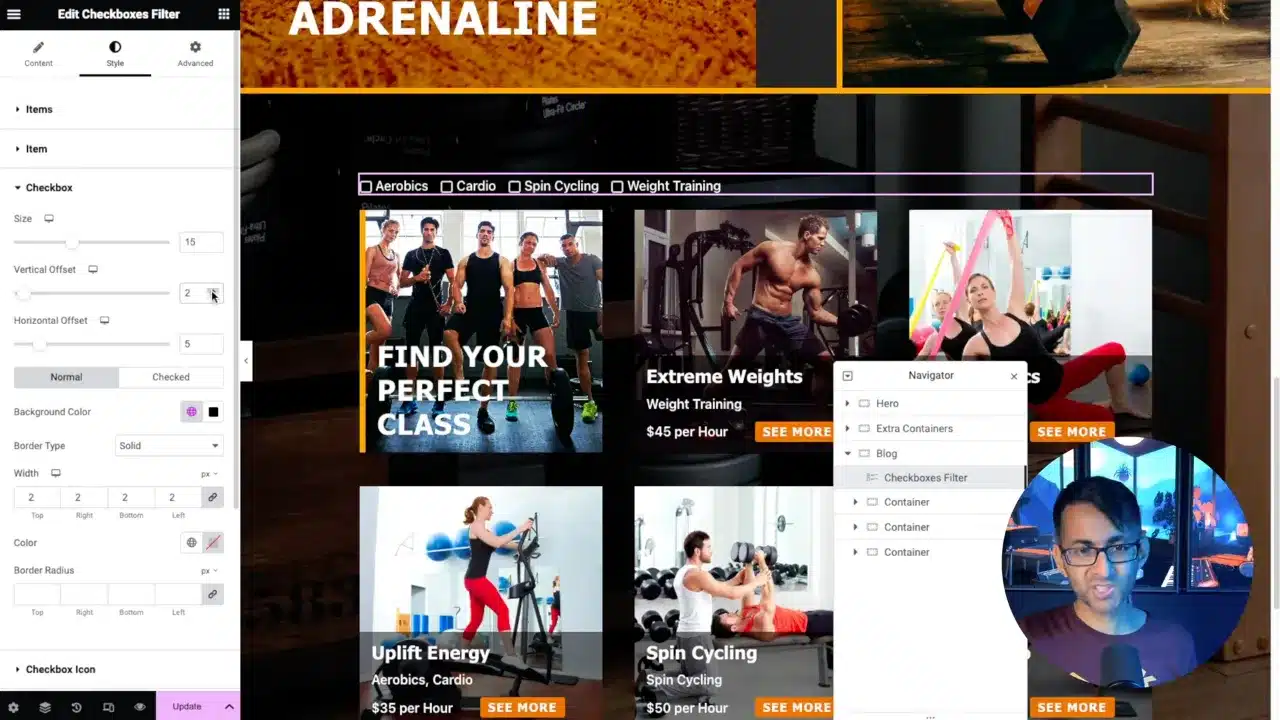
Customize your filters’ appearance to match your site’s design. Adjust colors, borders, and spacing through Elementor’s styling options.

Tip: Consistent styling across all filters maintains a professional look and feel.
Testing Filters with Loop Grids
Connect filters to a Loop Grid and set it as ‘filterable’ with the correct query ID. Preview to ensure functionality.
Trick: Use the Elementor editor’s responsive mode to test filters on different screen sizes.
Adding Multiple Filters and Understanding User Experience
Consider user experience when adding multiple filters. They should be intuitive and not overwhelm the user.
Tip: Group related filters together to help users intuitively navigate the filtering options.
Finalizing and Previewing Filters
Finalize your filters by previewing them and making any necessary adjustments. Ensure they work as expected and consider their interaction with each other.
Trick: Use the ‘preview’ feature in Elementor to test filters in real-time as you build them.
JetSmartFilters Walkthrough – Conclusion
JetSmartFilters offers a robust solution for enhancing user experience through efficient content filtering. By following the steps outlined in this guide, you can set up, style, and implement filters that will make navigating your site a breeze for users. Remember to test thoroughly and consider the user journey to ensure a seamless integration of filters into your WordPress site.


