Configuring a WordPress VPS server can seem daunting, but with the right guidance, it’s a straightforward process. This tutorial will walk you through setting up your WordPress site on a VPS server, specifically with Hostinger.
Prerequisites
Please make sure you have the following resources:
- Domain Name
- Hostinger VPS Plan
Purchasing a VPS Hosting Plan and a Domain Name
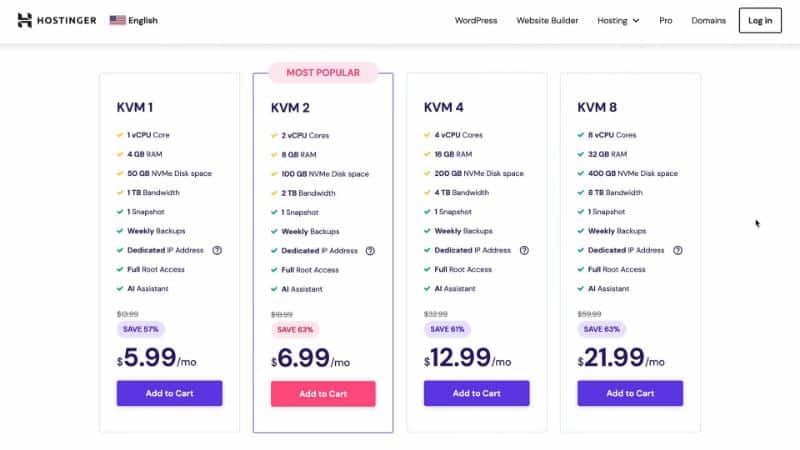
- Navigate to Hostinger’s VPS hosting plans.
- Select a plan that fits your needs, considering factors like customer support, performance, and security.
- Create an account and choose a payment method.
- Apply the ‘vps10’ coupon for a discount.
- Purchase a domain name through Hostinger, using their AI domain name generator for suggestions.
Setting Up a Virtual Private Server
- Access your Hostinger dashboard.
- Click setup and start the server configuration.
- Select a server location and your preferred operating system. For beginners, an OS with a control panel is recommended.
- Choose a control panel, like Cloud Panel, and set a strong password.
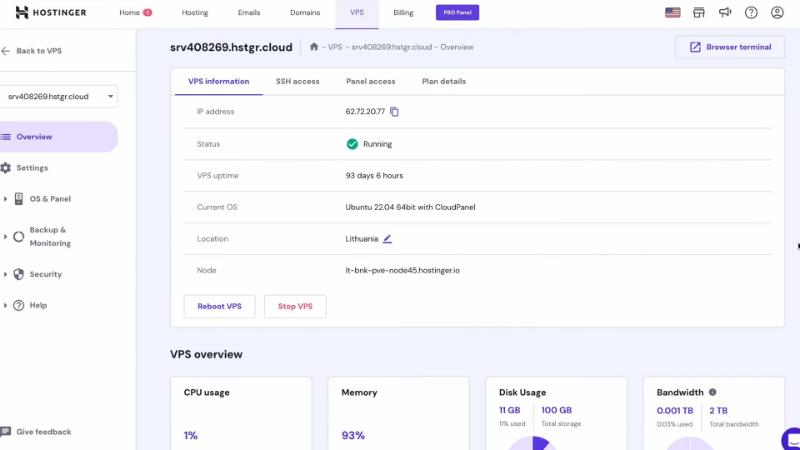
- Complete the initial configuration and return to the dashboard for an overview of your VPS.
Pointing Your Domain to a VPS
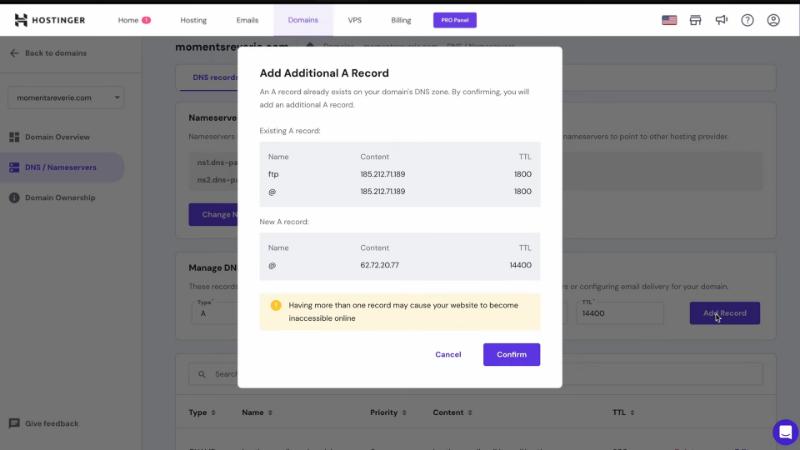
- Navigate to the DNS settings in your Hostinger panel.
- Remove existing A records and add new ones pointing to your VPS IP address (This step is crucial for making your website accessible via your domain).
Installing WordPress on the VPS
- Log in to your control panel using the credentials provided.
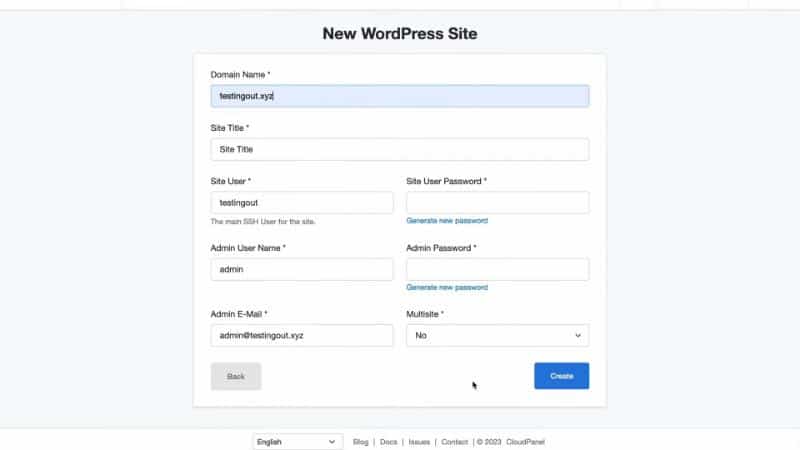
- Select ‘Add Site’ and create a WordPress site.
- Fill in the required fields and save your credentials.
- Install an SSL certificate for data encryption between your website and visitors.
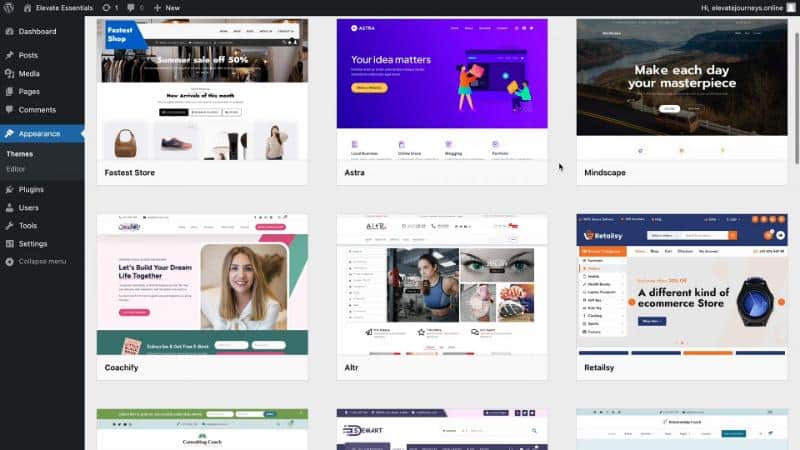
Choose a Theme
- Access your WordPress admin dashboard.
- Navigate to
Appearance > Themes. - Select a responsive theme that aligns with your branding. Astra is a popular choice for its versatility.
- Install and activate your chosen theme.
Installing WordPress Plugins
- Go to Plugins in your WordPress dashboard.
- Install and activate essential plugins categorized into security, SEO, e-commerce, caching, analytics, and site customization.
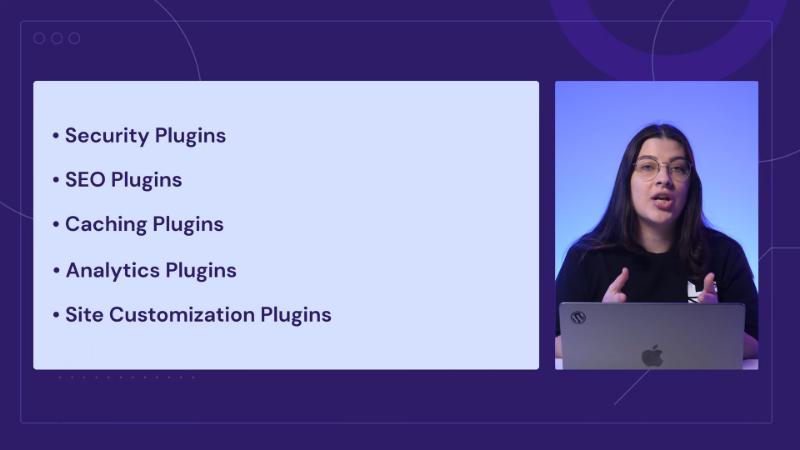
Tip: Remember, too many plugins can slow down your site.
Customize Your Website’s Design
- Navigate to
Appearance > Customize. - Adjust typography and global color palette to match your branding.
- Use high-quality images and ensure they are optimized for web use.
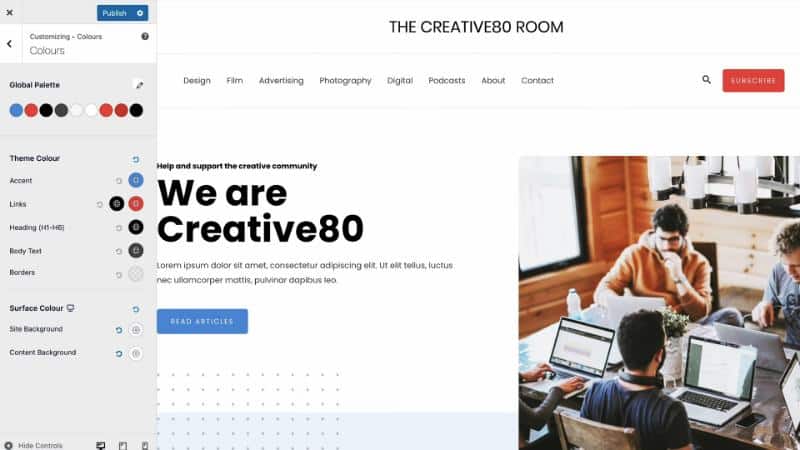
Tip: Consistent font and color choices enhance readability and user experience.
Create Pages and Posts
- Set up essential pages like Home, About, and Contact.
- Create a blog page if needed.
- Edit these pages with relevant content, images, and videos.
- Add a WordPress contact form plugin for lead collection.
- Publish your first blog post with engaging content.

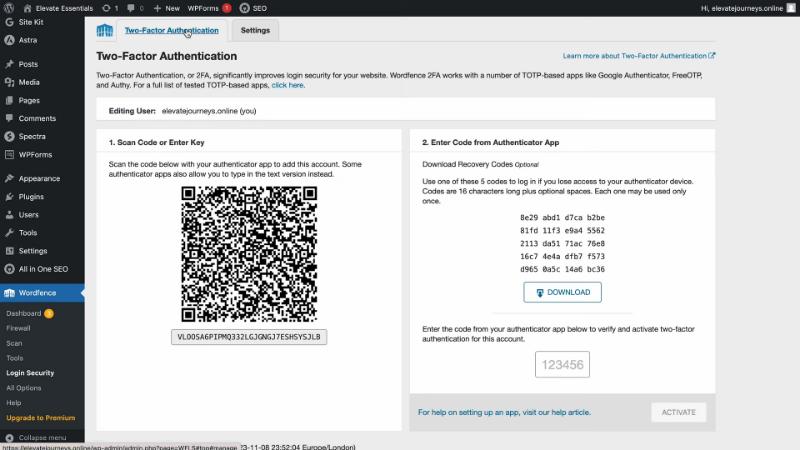
Secure Your Website
- Implement strong authentication measures.
- Install security plugins like Wordfence for firewall protection and malware scanning.
- Regularly update WordPress core, themes, and plugins for security.
Publish Your Website
- Test your website on various browsers and devices. Ensure responsiveness and check for content accuracy.
- Once satisfied, announce your website’s launch.
- Scale up your VPS plan as your website grows.
WordPress VPS with Hostinger – Conclusion
In conclusion, setting up a WordPress VPS server with Hostinger involves careful planning and execution. From choosing the right hosting plan to securing your website, each step is crucial for a successful online presence. Remember, this is just the beginning of your website journey. Regular updates and quality content are key to growth.
