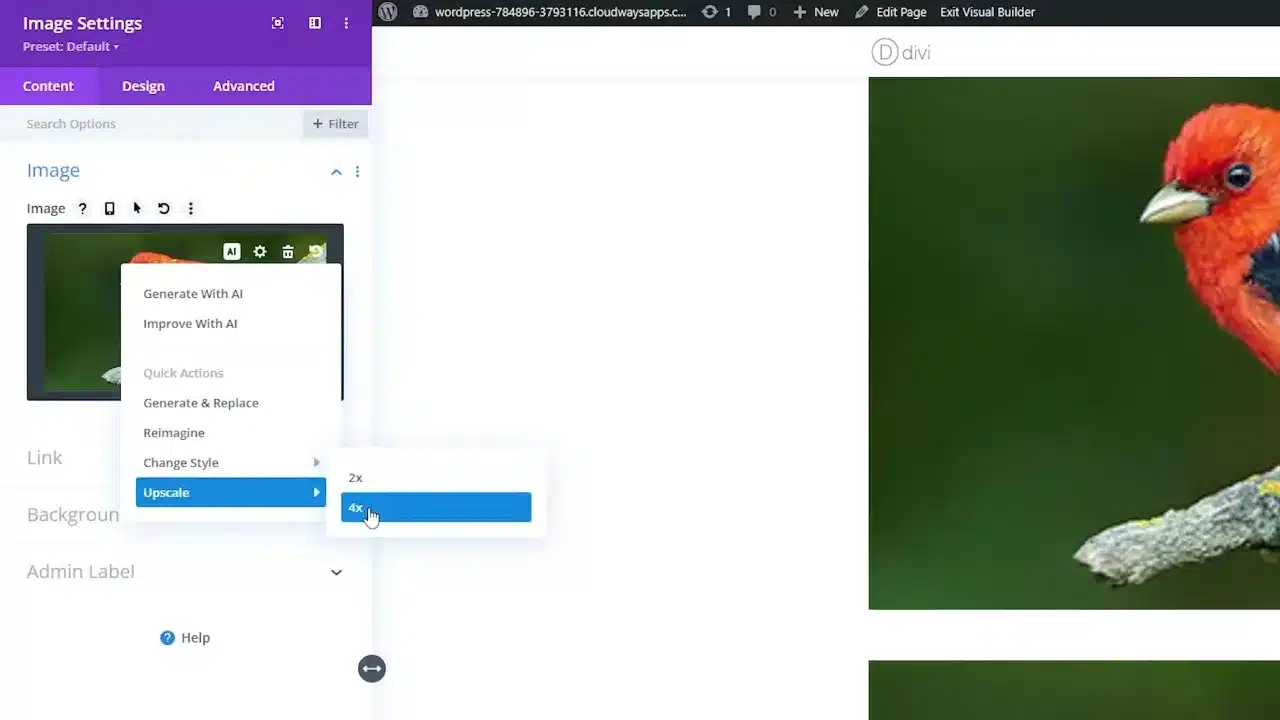
To upscale images in WordPress is a task that many website owners find challenging. However, with Divi AI, you can easily transform your low-resolution images into high-quality visuals. In this tutorial, we’ll walk you through the process of using Divi AI to upscale images directly within your WordPress builder.
Prerequisites
Please make sure you have the following installed and activated:
Why Upscale Images?
High-quality images are essential for any website. They not only enhance the visual appeal but also contribute to a better user experience. However, sometimes the perfect image might be of a lower resolution than desired. That’s where Divi AI comes into play.
Getting Started with Divi AI
- Navigate to your WordPress dashboard and go to
Pages > Add New.

- Click on
Use the Divi Builder.
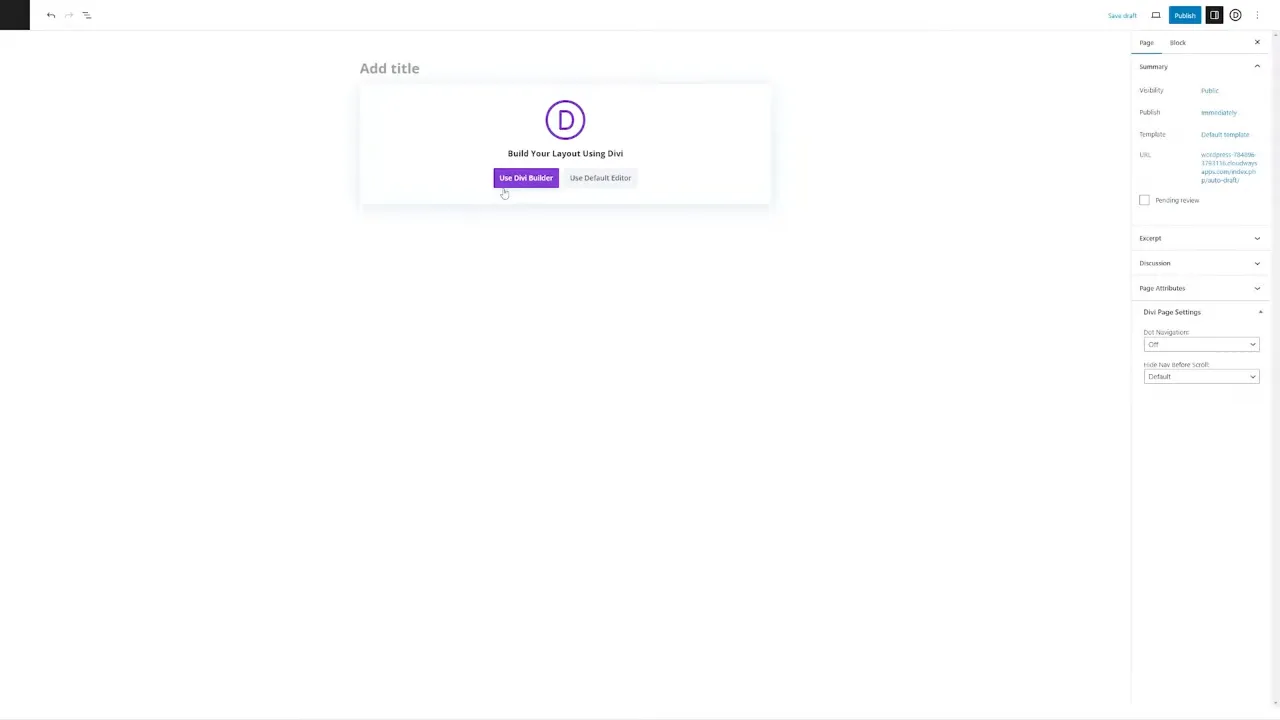
- Select
Build a new page from scratch.
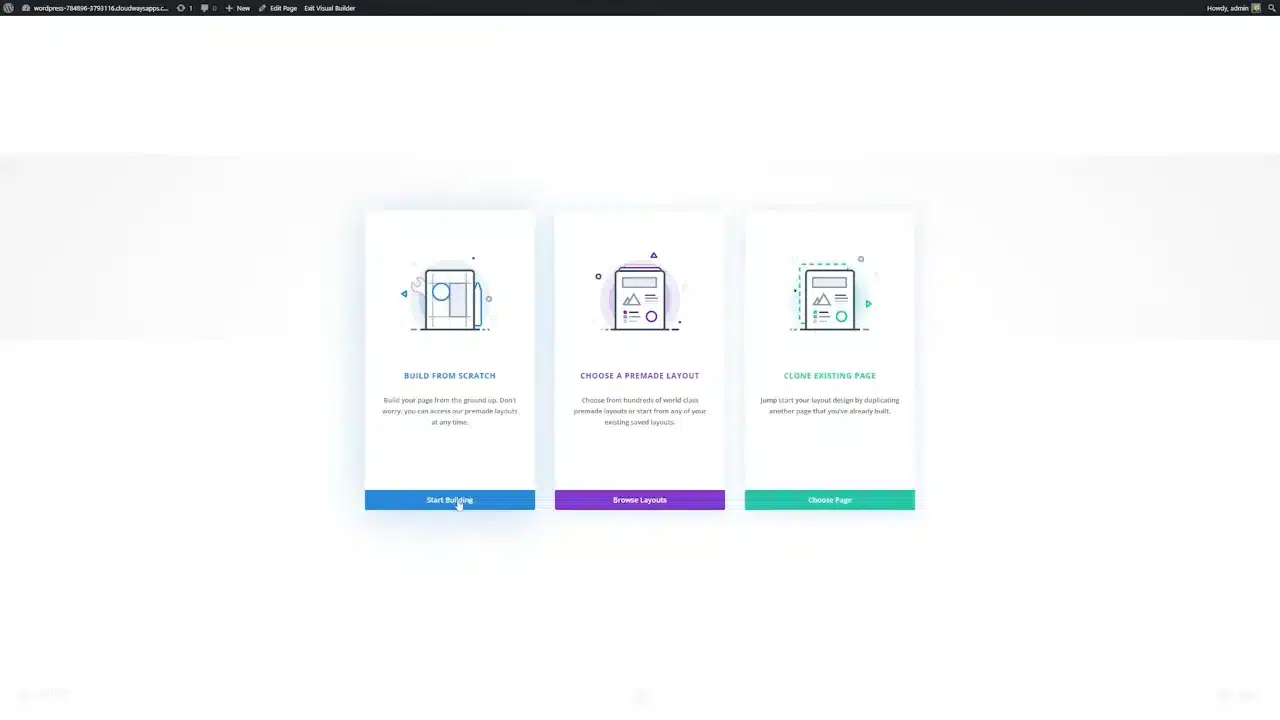
Adding Your First Image
- Insert a new row by clicking on
+ Add New Row.

- Choose the
Image Modulefrom the list of modules.
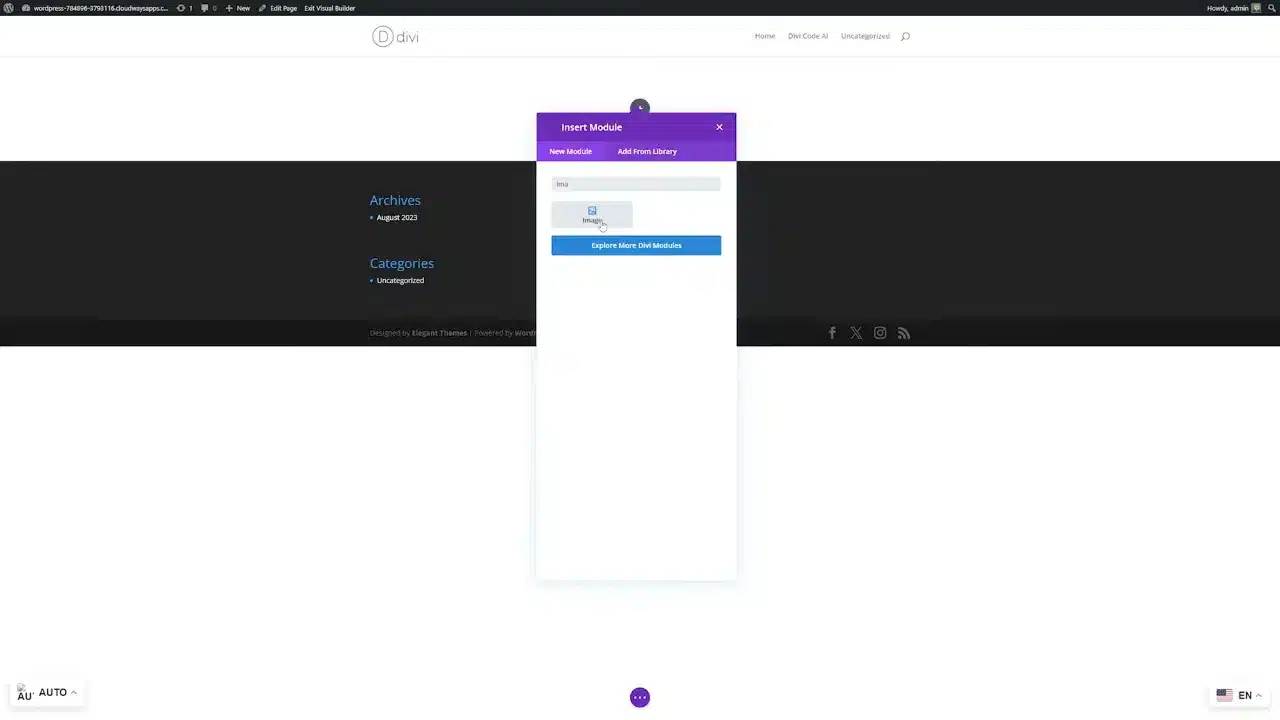
- Upload your desired image by clicking on
Upload.
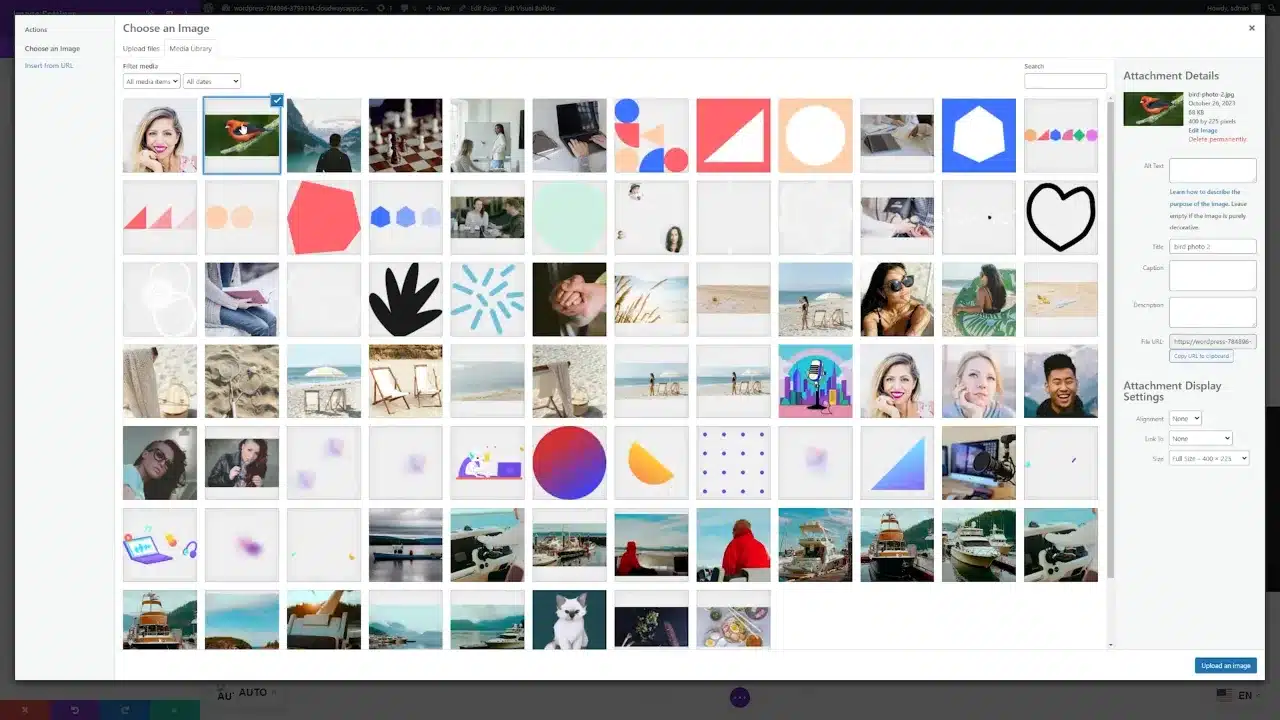
Tip: Choose an image that you think needs upscaling for better clarity.
Upscaling the Image with Divi AI
- Click on the
Module Settingsof the image you just uploaded. - Navigate to the
AItab within the settings. - Select the
Upscaleoption. - Choose between
2xor4xupscaling options.
Note: The upscaling process might take a couple of minutes.
Comparing the Results
After the upscaling is complete, you’ll notice a significant improvement in the image quality. The details will appear more clear and sharp, making the image suitable for larger displays.
Upscale Images in WordPress with Divi AI – Conclusion
To upscale images in WordPress doesn’t have to be a daunting task. With Divi AI, you can easily improve the quality of your images without leaving your WordPress builder. So go ahead, and give your website the visual boost it deserves.
