Creating a visually appealing and functional website for a makeup artist doesn’t have to be complicated. In this walkthrough, we’ll explore how to build an engaging one-page makeup artist website using Elementor. This guide simplifies the process, allowing you to create a stunning online presence quickly.
Prerequisites
Please make sure you have the following installed and activated:
Additional Knowledge for Makeup Artist Websites
When creating a website for a makeup artist, there are several key factors to consider that can significantly enhance its effectiveness and appeal:
- Portfolio Showcase
As a makeup artist, your portfolio is your strongest asset. Include high-quality images of your work, categorized by different styles or occasions (e.g., bridal, editorial, everyday looks). This not only showcases your skills but also helps potential clients envision what you can do for them. - Artist Bio and Brand Story
Personalize your site with a compelling artist biography and brand story. Share your journey, inspirations, and what sets your makeup artistry apart. This humanizes your brand and creates a connection with your audience. - Service Details and Pricing
Clearly outline your services and pricing. This transparency helps set client expectations and can filter inquiries to those genuinely interested in your offerings. - Client Testimonials and Reviews
Include testimonials from past clients to build trust and credibility. Positive reviews can significantly influence new clients’ decision-making. - Contact Information and Booking System
Make it easy for clients to contact you or book your services. Consider integrating a booking system if you handle appointments regularly. - Responsive Design for Mobile Users
Ensure your website is mobile-friendly. Many clients will likely browse your site on their smartphones, so a responsive design is crucial for a good user experience. - SEO for Local Visibility
Implement local SEO strategies to improve your visibility in search results, especially if your services are location-specific. Use relevant keywords, register on Google My Business, and include location-specific content. - Social Media Integration
Connect your website with your social media profiles. Regularly updated platforms like Instagram or Pinterest can serve as extensions of your portfolio. - Blog Section
Consider adding a blog to share makeup tips, trends, tutorials, or product reviews. This not only positions you as an expert in your field but also improves your website’s SEO. - Before and After Galleries
Showcasing before and after transformations can be a powerful visual tool to demonstrate your skill and the impact of your work.
Make-Up Artist Website Walkthrough Summary
- 0:00: Introduction to creating a one-page WordPress website for a makeup artist using Elementor. Emphasis on simplicity and efficiency in design.
- 0:12: Starting the process in WordPress, creating a new page titled “Makeup”. Introduction to editing the page with Elementor.
- 0:25: Explanation of using Elementor Canvas for a clean design without headers or footers.
- 0:48: Focus on creating a one-page design with a fake header for demonstration purposes.
- 1:02: Mention of other learning resources for more advanced Elementor techniques and responsive design.
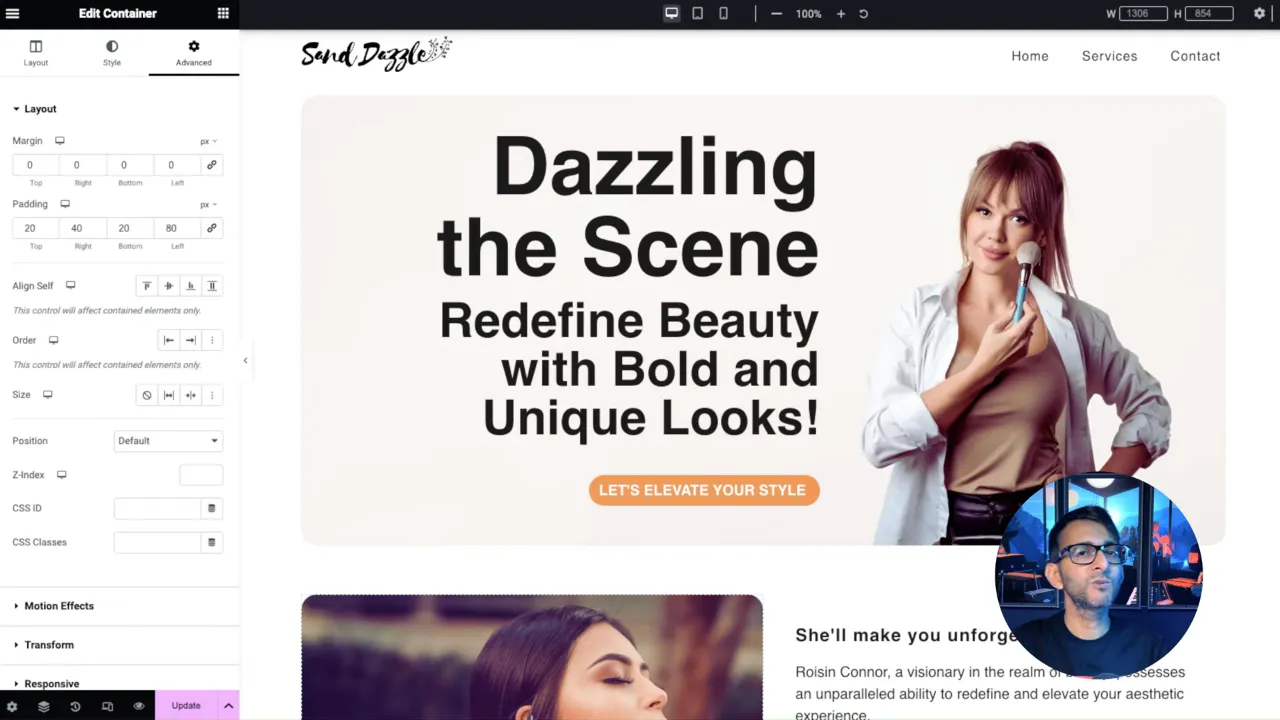
- 1:27: Adding and configuring a container for the website’s header. Explanation of setting container parameters for optimal layout.
- 1:53: Adjusting padding in the container for layout fine-tuning.
- 2:18: Inserting a logo and a fake navigation menu, with tips on image optimization and layout adjustments.
- 3:01: Adjusting logo and navigation menu sizes and alignment for aesthetic appeal.
- 3:38: Explanation of using Elementor’s Navigator feature for layout management.
- 4:12: Detailed walkthrough of configuring the layout and alignment of the header components.
- 5:06: Customization of the navigation menu, including typography and mobile responsiveness settings.
- 6:05: Emphasis on using custom-loaded fonts for performance and aesthetics.
- 6:47: Fine-tuning the navigation menu and header design for both desktop and mobile views.
- 7:24: Introduction to Elementor’s site settings for global customization.
- 8:17: Tips for page speed optimization and Elementor settings.
- 9:07: Designing the hero banner with a flex box and child container for layout control.
- 10:22: Adding and adjusting background images with Elementor’s style settings.
- 12:35: Inserting headers and call-to-action buttons, with tips on alignment and styling.
- 14:02: Using padding for layout adjustments and fine-tuning text positioning.
- 15:08: Importance of hierarchical order in headings for SEO and readability.
- 16:16: Configuring the call-to-action button and adjusting its style and positioning.
- 17:51: Ensuring mobile responsiveness by adjusting container and element settings.
- 19:13: Further adjustments to the hero banner for mobile view, including image and text alignment.
- 21:33: Tips for optimizing hero banner image for mobile devices.
- 24:06: Creating additional content sections with containers, including text and images.
- 26:01: Styling and positioning images within containers for visual appeal.
- 27:05: Adjusting the mobile layout for content sections to enhance readability.
- 30:07: Using Elementor’s layout features to create a services section with image and text.
- 31:47: Detailed explanation of modifying container layouts for different content arrangements.
- 33:00: Adjusting image orientation and adding text content for an about section.
- 34:41: Creating a contact section with social icons and form elements.
- 36:07: Customizing social icons and adding contact information with Elementor.
- 38:08: Final adjustments to the form and layout for the contact section.
- 39:28: Conclusion of the tutorial with an emphasis on the ease and flexibility of designing with Elementor.
Official Documentation
Make-Up Artist Website – Conclusion
Building a one-page website for a makeup artist using Elementor is a straightforward process that yields professional results. This tutorial guides you through each step, ensuring you can create a website that not only looks great but also performs well on all devices.
