Creating an Elementor Image Accordion can significantly enhance the visual appeal of your WordPress site. By allowing viewers to reveal more content with a simple click, you can efficiently utilize space while maintaining a clean and organized layout.

Prerequisites
Please make sure you have the following installed and activated:
Why Use an Elementor Image Accordion
An image accordion in Elementor lets you display images in a compact, collapsible format. This approach is perfect for showcasing portfolios, product images, or galleries without overwhelming the page.
Instructions to Create an Elementor Image Accordion
- Create a Container
Start by adding a new container to your page, setting it to a width of 1,000 pixels.

- Add the Accordion Widget
Use the Elementor accordion widget. Remove additional tabs if unnecessary.
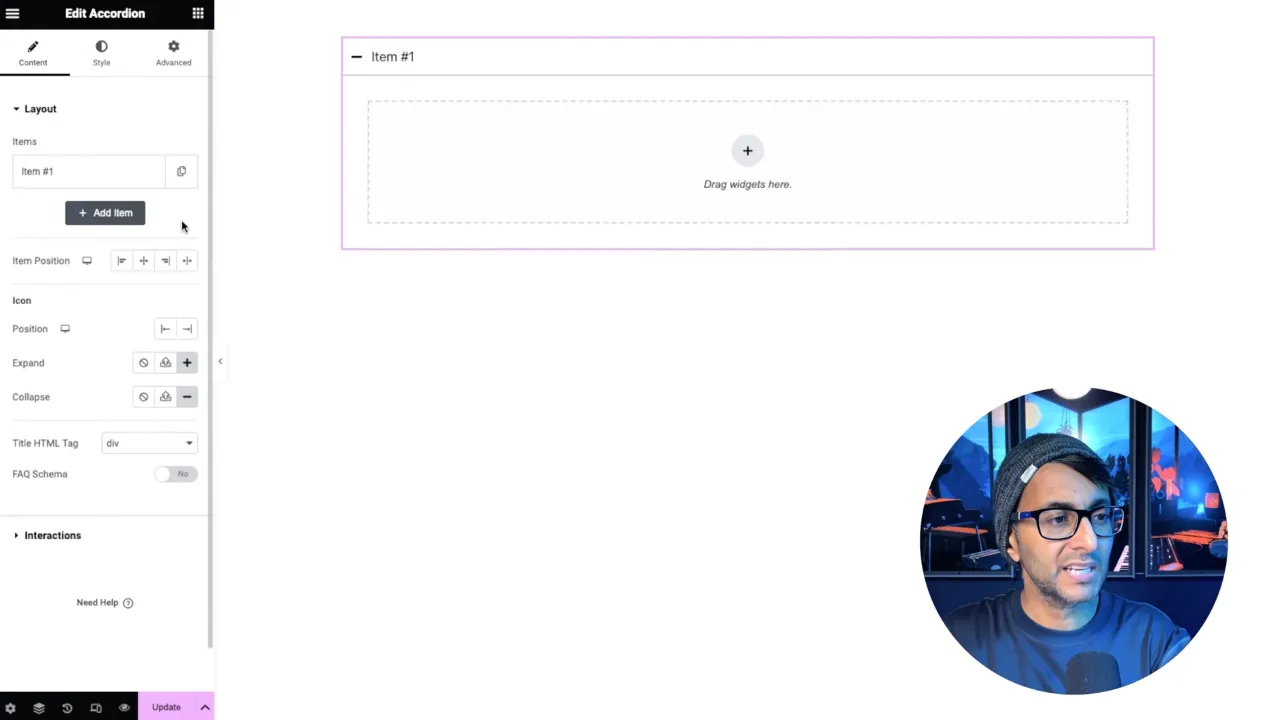
- Insert Image into the Title
Replace the title text in the accordion with an image. Upload your image to the media library and copy its URL.

- Customize Image Style
In the accordion title section, add a custom style for your image with a width of 1,000 pixels, a height of 50VH, and set the object fit to ‘cover’.Example: <img src=”https://yourwebsite.com/wp-content/uploads/image-name.webp” alt=”Webp Image” style=”width: 1000px; height: 50vh; object-fit: cover;”>
- Adjust the Accordion Settings
Remove the expand and collapse icons and set the padding to zero for a full-width effect.
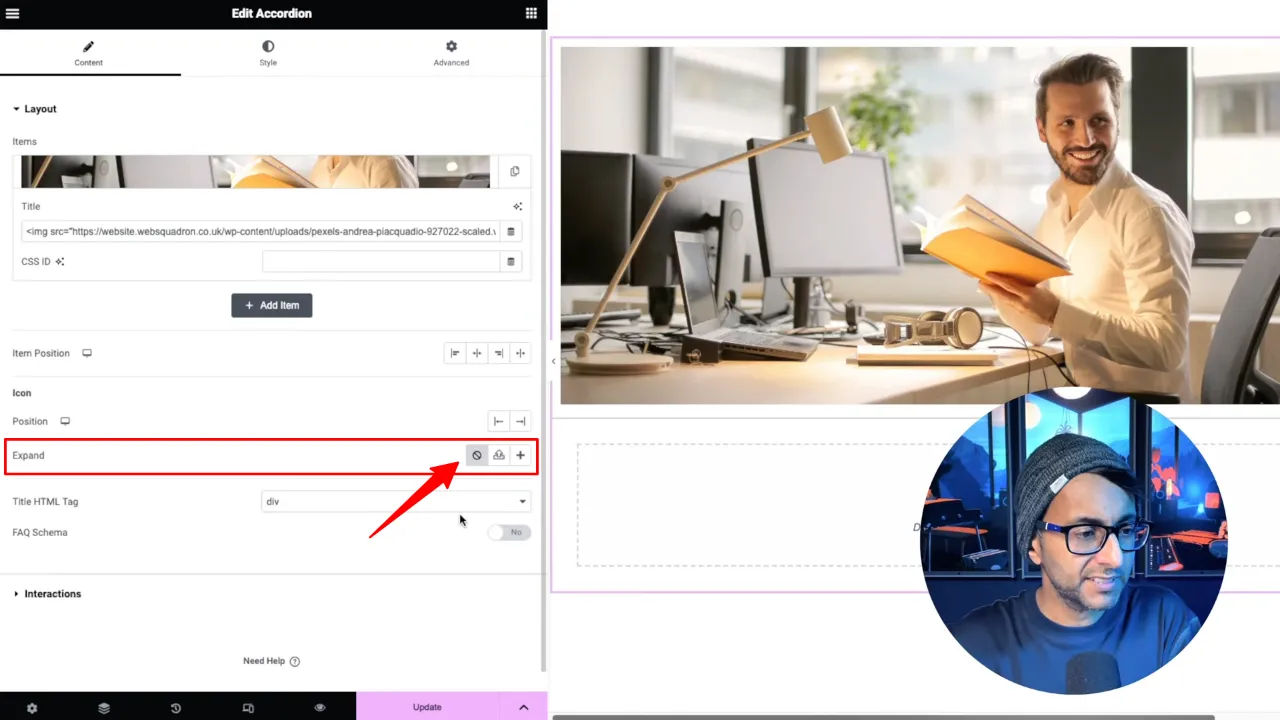
Remove the expand and collapse icons 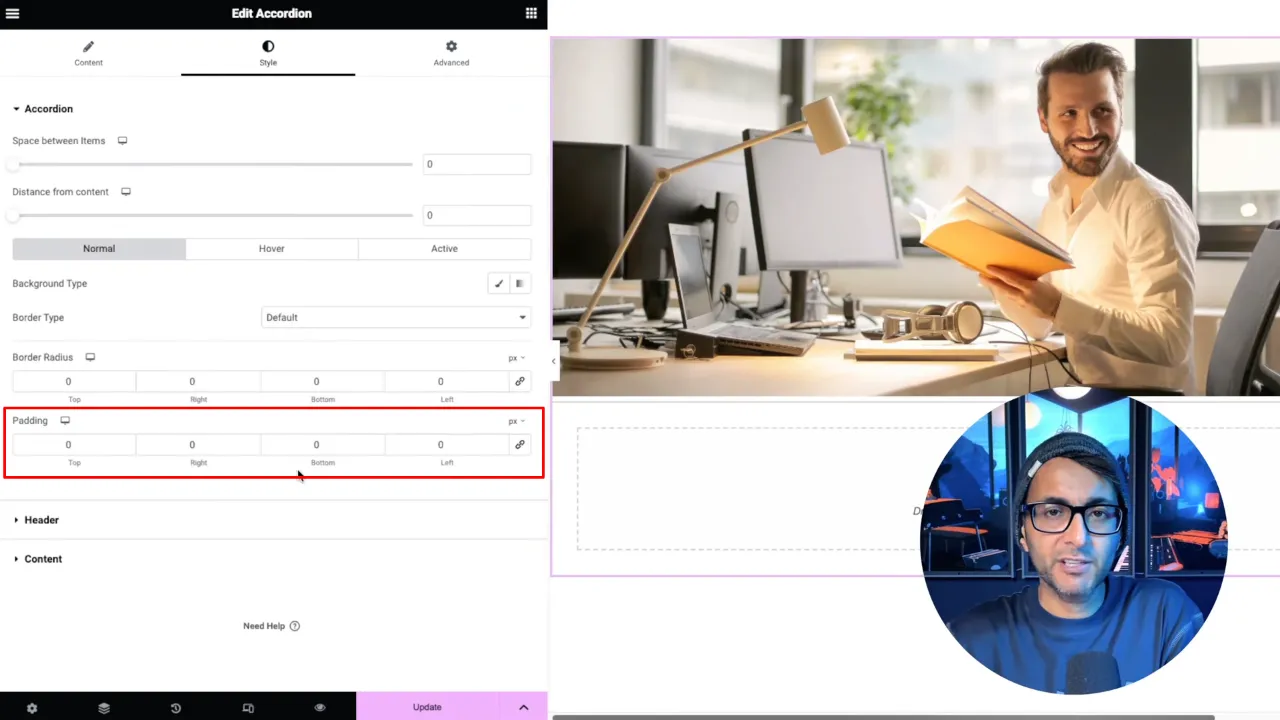
Set the padding to zero for a full-width effect - Add Content to the Accordion
- In the content area, add a container and zero out the padding.

- Insert a gallery widget, add your images, and customize the gallery settings.

- In the content area, add a container and zero out the padding.
- Set Accordion Behavior
In the accordion’s settings, choose to have all tabs collapsed by default.

- Save and test your Elementor image accordion.
Official Documentation
Clickable Elementor Image Accordion – Conclusion
This tutorial demonstrates how to creatively use the Elementor Image Accordion to display images in a dynamic and interactive way, making your content more engaging and visually appealing.
