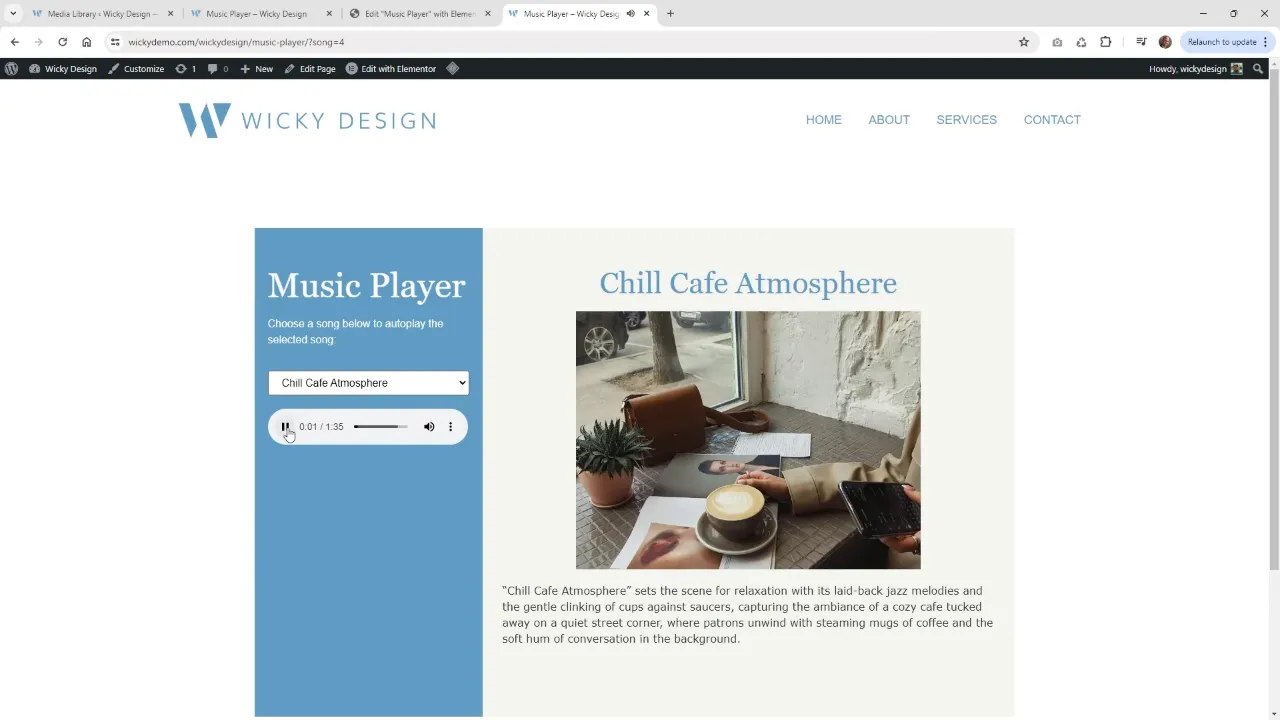
A dynamic drop down music player is a handy addition that adds a personalized touch to your website, allowing users to select and play music from a custom list. By combining Elementor and JetEngine, you can create an interactive player that automatically updates when a new song is selected. This tutorial guides you through creating a drop down music player with dynamic visibility and URL parameters.

Prerequisites
Before getting started, ensure you have the following installed and activated:
Some Examples When You Could Use A Drop Down Music Player
- Music Portfolio
If you’re a musician or a band, a dynamic drop down music player can be an effective way to showcase your work. Users can browse through your songs and play them without needing to navigate away from the page. - Audio Blogs and Podcasts
For bloggers or podcasters who create audio content, a dynamic drop down player allows listeners to quickly access different episodes or audio clips from a single location. - E-commerce Stores
E-commerce websites selling audio products like music, ringtones, or sound effects can use a dynamic drop down music player to let customers preview different tracks before purchasing. - Education and Training
Educational websites can use this setup to provide learners with audio-based content. Students can select lessons or topics from the drop down player, making the learning experience more interactive. - Interactive Storytelling
For creative projects involving audio narratives, a dynamic drop down player allows users to engage with the story by selecting different parts, creating a more immersive experience.
Drop Down Music Player – Tutorial Chapter Summary
- Upload MP3s (01:09)
Begin by uploading your audio files to the WordPress media library. Use a simple naming convention for your files, such as Song 1.mp3, Song 2.mp3, etc. This will make it easier to reference them later. If needed, use a plugin like Happy Files to organize your media library. - Enable JetEngine Dynamic Visibility (02:19)
Ensure JetEngine’s Dynamic Visibility module is enabled. This module allows elements to appear or disappear based on specific conditions. Navigate to JetEngine settings, find the “Modules” section, and enable “Dynamic Visibility”. - Music Player Layout (02:45)
In Elementor, create a two-column layout for your music player. The left column contains the audio player, while the right column holds dynamic information such as album art and song details. The audio player uses the default HTML5 player built into browsers, which may look different depending on your browser. - JavaScript & HTML Code Explained (04:08)
Add JavaScript code to manage the drop down options. Ensure that the value assigned to each song corresponds to its number in the media library. The key part is setting up the correct URL base and ensuring the JavaScript code dynamically changes the content based on the URL parameters. - Dynamic Visibility & Request Parameter (06:45)
Set up dynamic visibility for the song information on the right column. In JetEngine, configure the visibility condition to show elements based on URL parameters. This step involves creating a condition where elements are shown or hidden based on the “song” parameter in the URL. Use a dynamic tag to select the correct song based on its parameter value.
Official Documentation
Drop Down Music Player – Conclusion
Creating a dynamic drop down music player with Elementor and JetEngine involves a combination of media file management, JavaScript, and dynamic visibility settings. This approach provides flexibility in customizing the player and allows users to select and play different songs easily.
