To create dynamic testimonials with ACF (Advanced Custom Fields) and Bricks Builder offers an innovative approach to showcasing feedback on your WordPress site. This tutorial walks you through the process of utilizing ACF and Bricks Builder to craft a flexible and automated testimonial section, enhancing user engagement and trust through real-life examples.
Prerequisites
Please make sure you have the following installed and activated:
- Bricks Builder (or a similar page builder)
- ACF (Advanced Custom Fields or a similar custom post type plugin)
Why Use Dynamic Testimonials?
- Fresh Content
Automatically updating testimonials keep your website content fresh and engaging. Visitors see the latest reviews or feedback, which can significantly improve the site’s appeal and relevance. - Increased Trust
Showcasing a variety of testimonials from different customers builds trust with potential clients. Seeing real feedback from diverse sources can influence visitors’ decisions and perceptions more strongly than static, selected testimonials. - Time Efficiency
Dynamic testimonials automate the process of updating your website with new feedback. This efficiency saves time and resources, allowing you to focus on other aspects of your business while maintaining an updated testimonials section. - Personalization and Relevance
By dynamically displaying testimonials, you can tailor the shown feedback to be more relevant to the specific visitor or page context. This personalization can make the testimonials more impactful, as visitors see feedback that resonates more closely with their needs or concerns. - SEO Benefits
Regularly updated content, like dynamic testimonials, can positively affect your website’s search engine optimization (SEO). Search engines favor websites with fresh content, which can lead to better rankings and increased visibility.
Instructions to Create Dynamic Testimonials with ACF & Bricks Builder
Create Your Custom Post Type
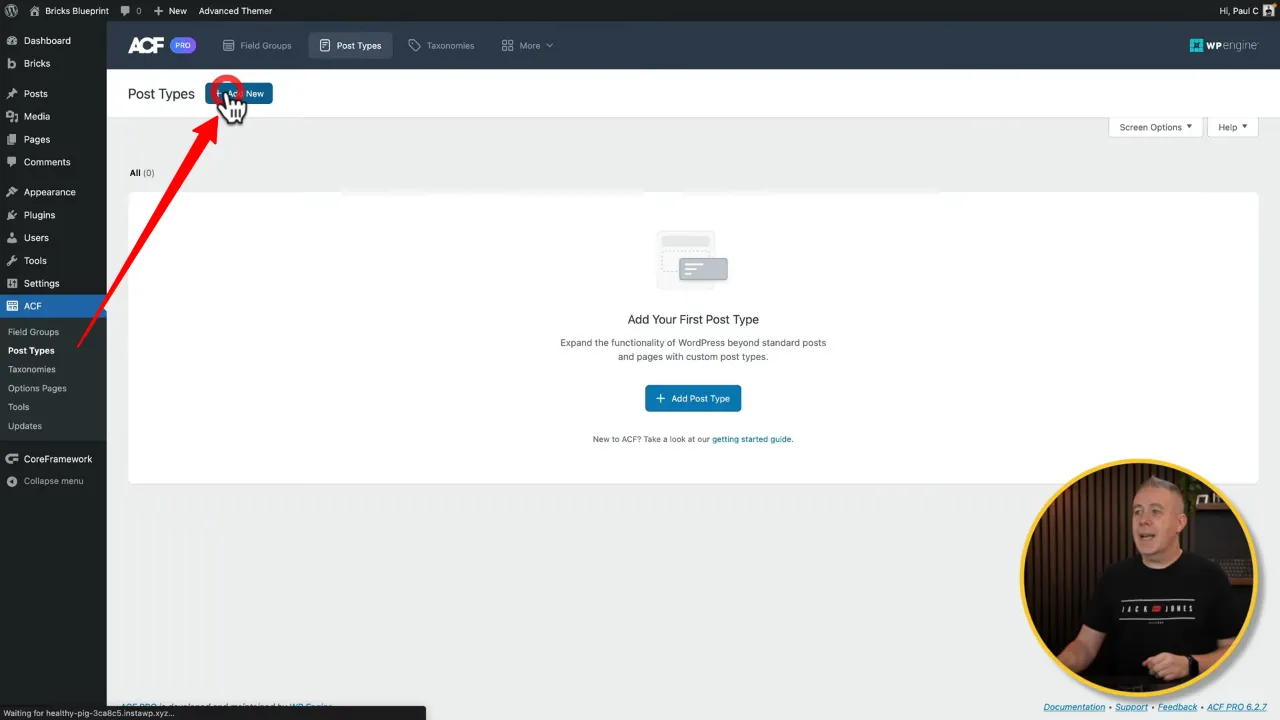
- Navigate to ACF > Post Types > Add New to create a custom post type for testimonials.
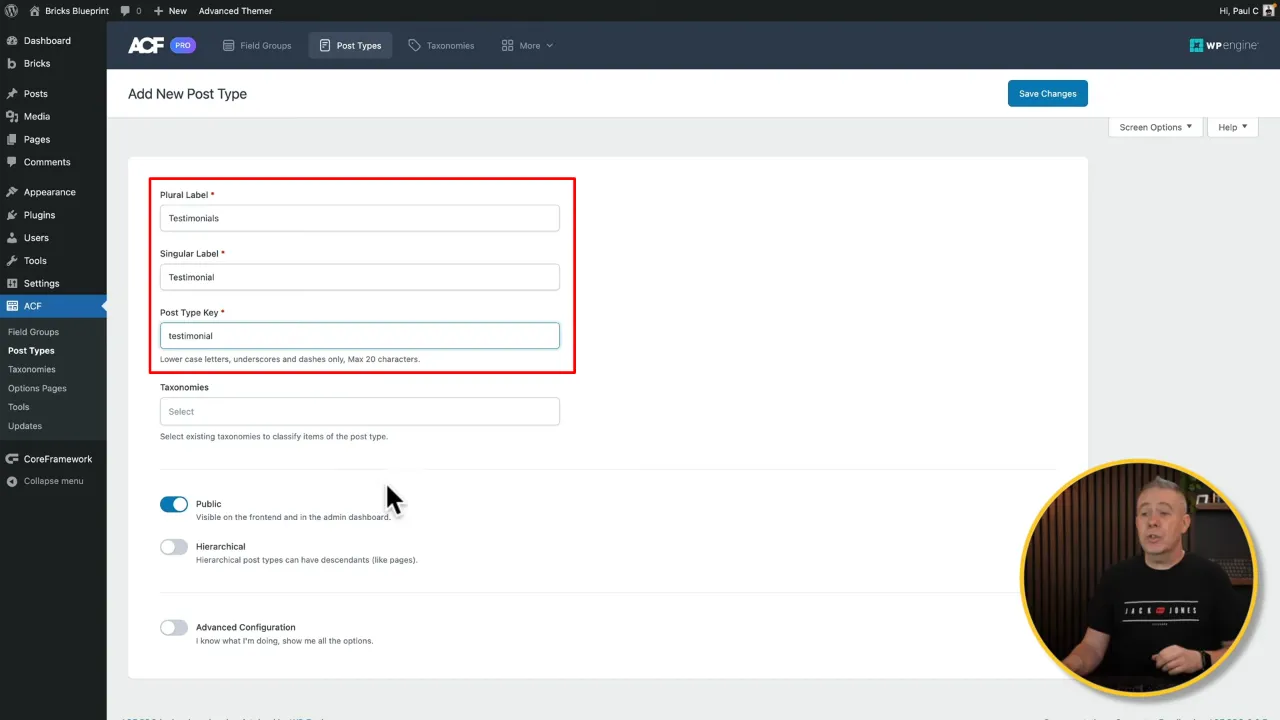
- Give it labels, e.g. Plural Label: Testimonials, Singular Label: Testimonial, Post Type Key: testimonial.
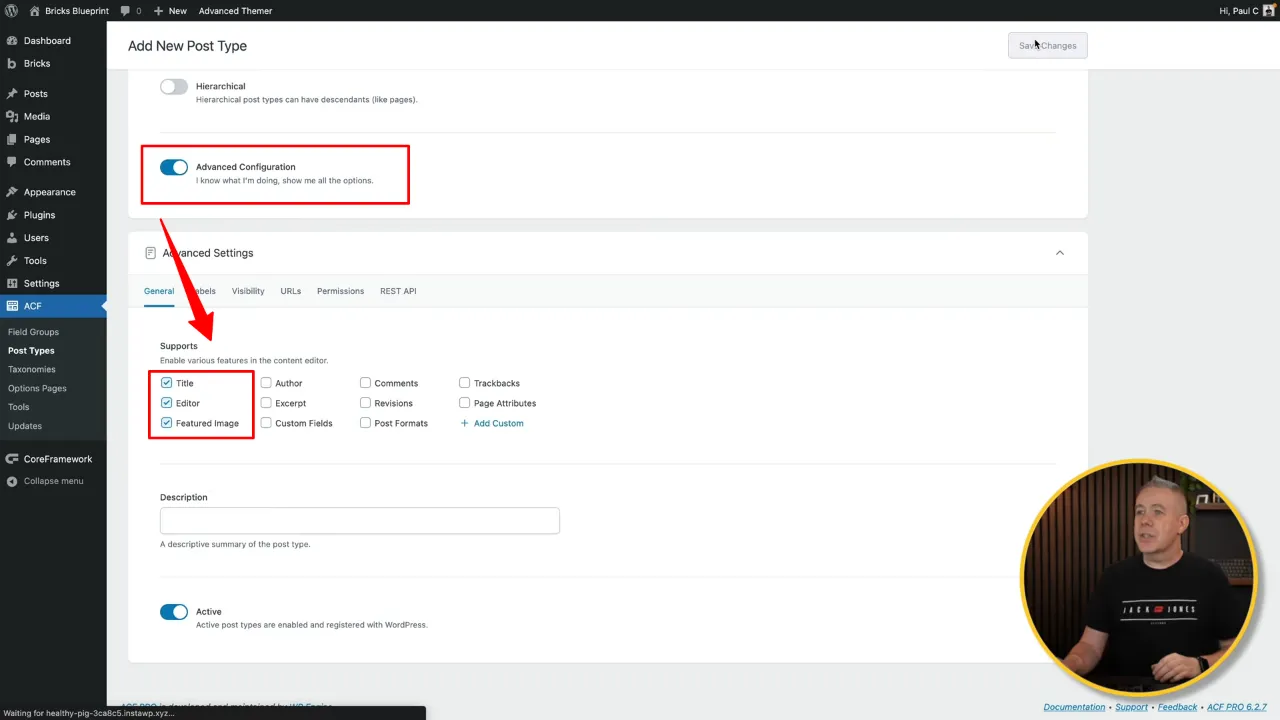
- Proceed to the Advanced Configuration to adjust settings but leave Title, Editor, and Featured Image enabled as these support our testimonial structure. Save changes to finalize the custom post type.
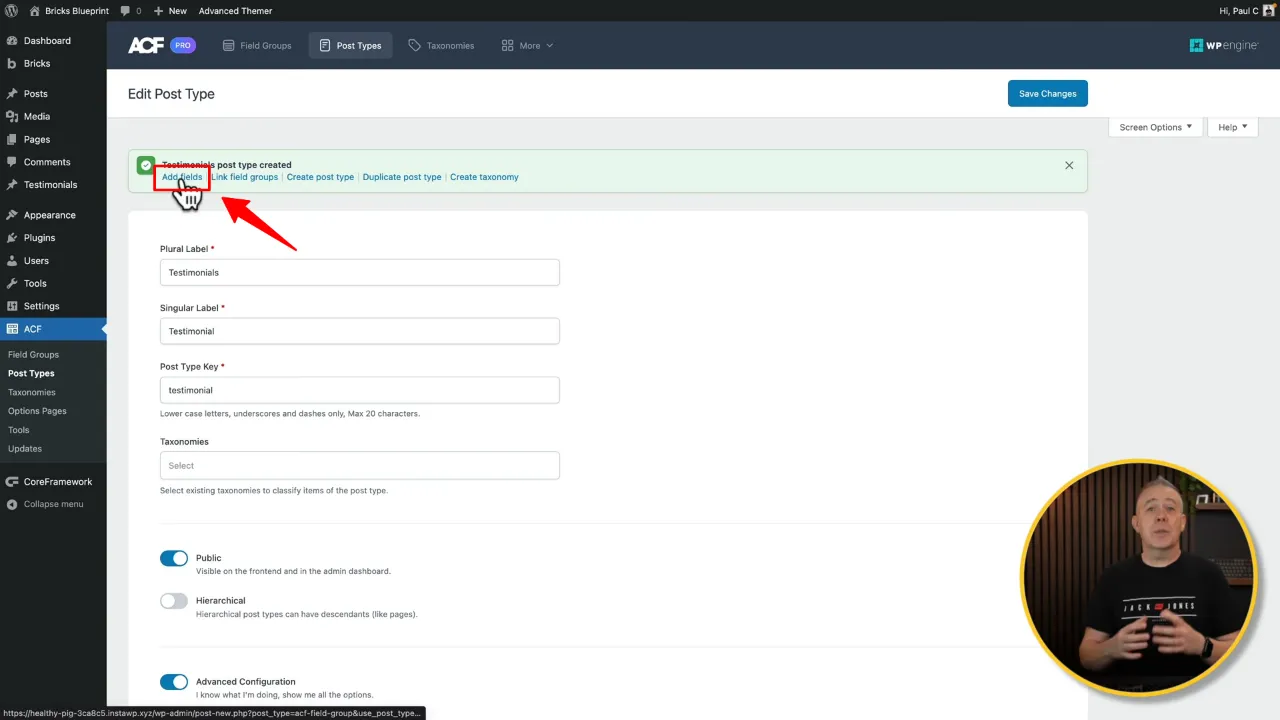
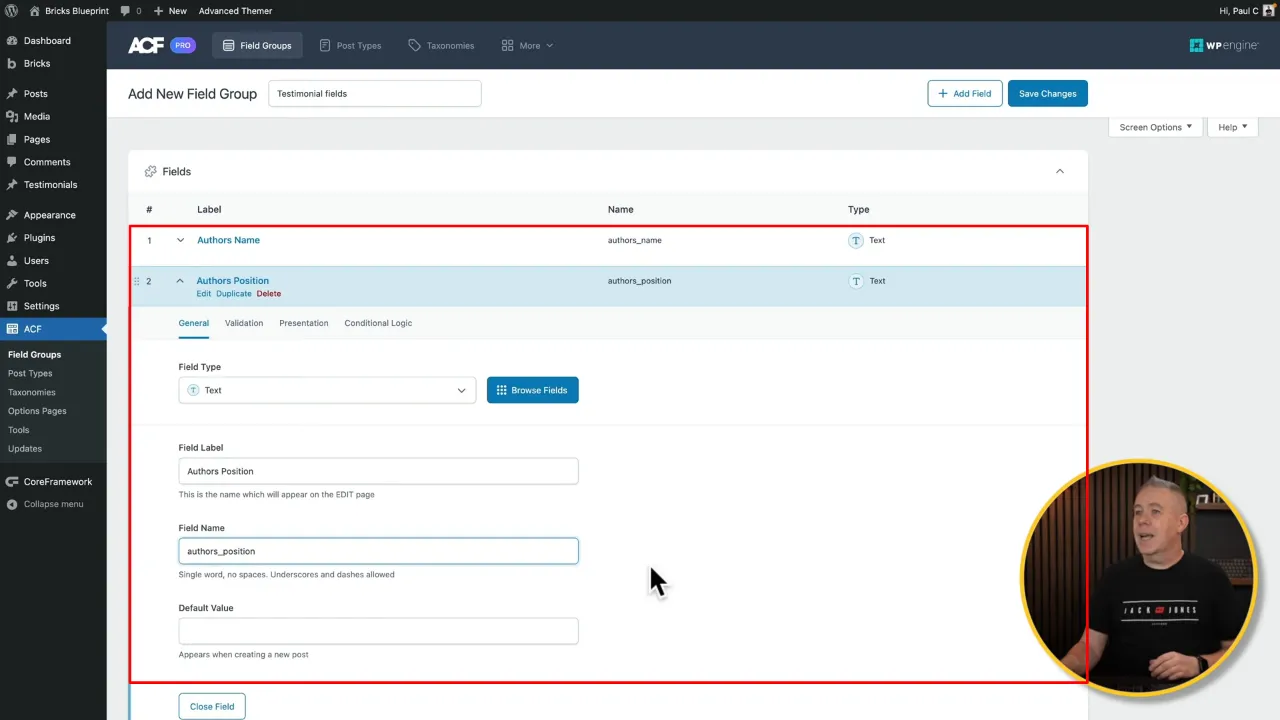
- Add custom fields for the testimonial by selecting Add Fields.
- Add two custom fields, e.g. text field for the author name, and another text field for the author’s position.
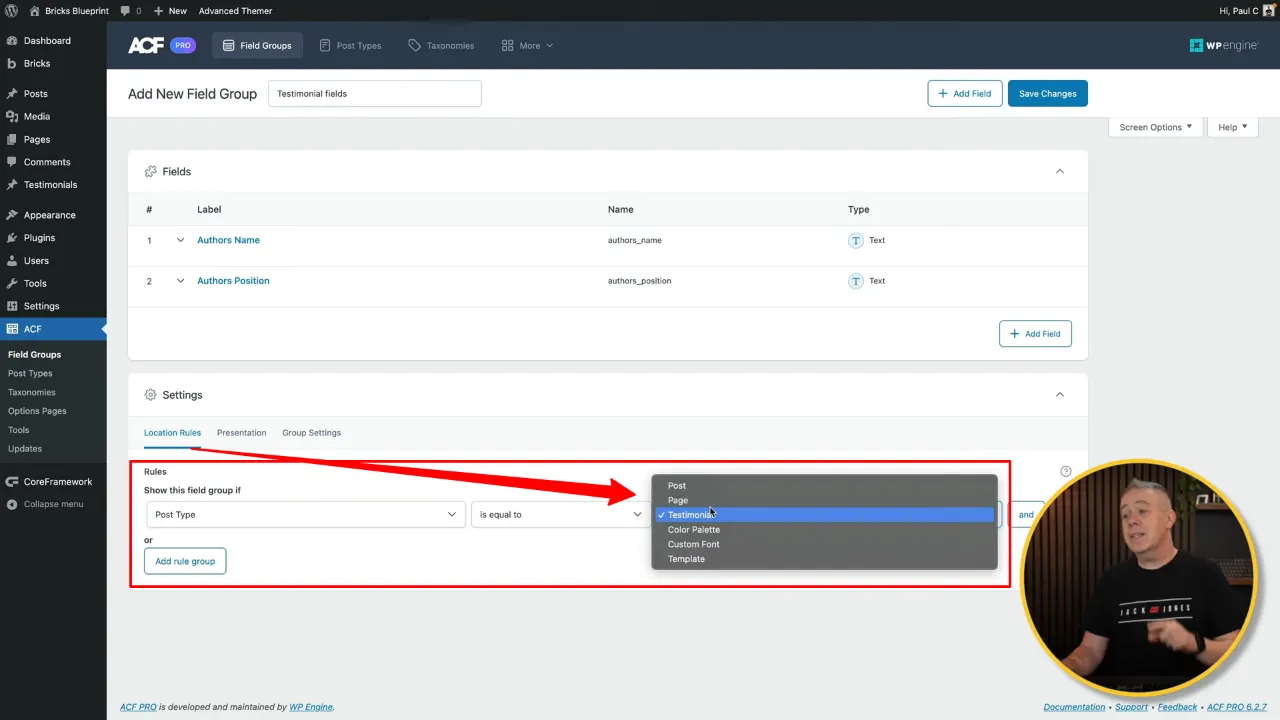
- Set location rules to ensure these fields appear within the testimonial post type, linking them correctly. Save changes.
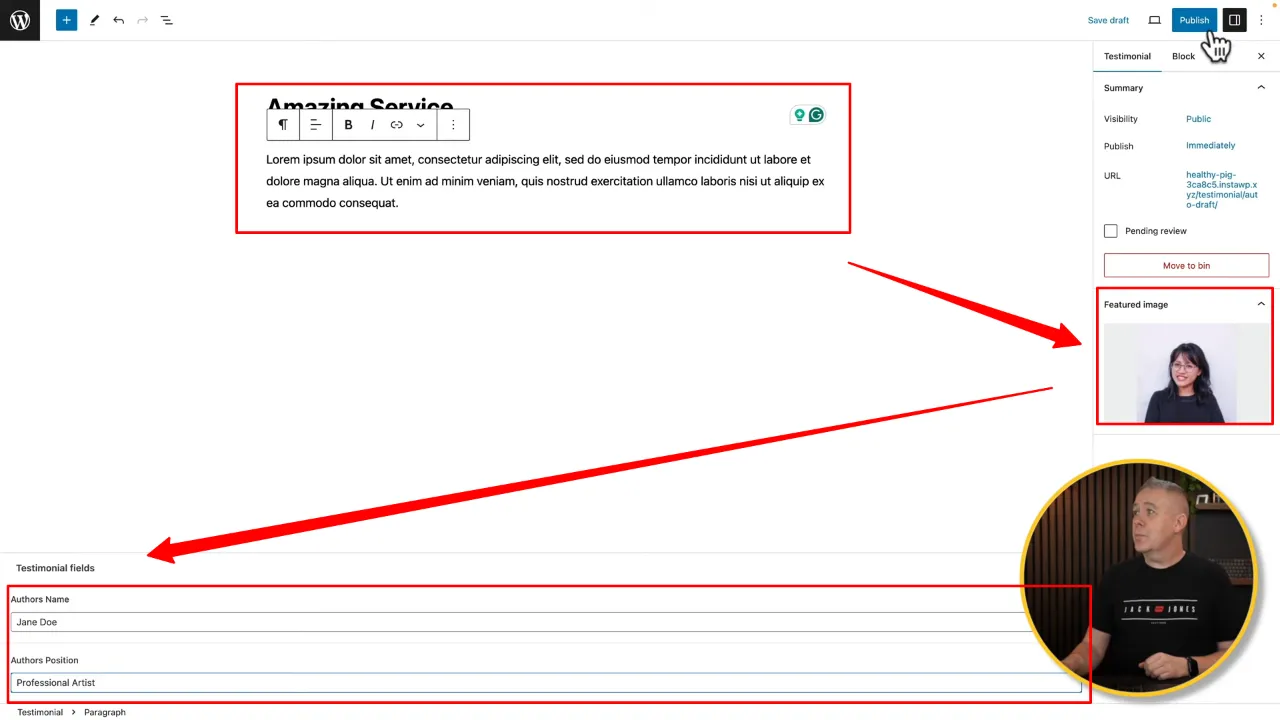
- Add a new testimonial by filling out the title, testimonial content, author’s name, position, and adding a featured image. Publish it.
Connecting the Data with Bricks Builder
- Open Bricks Builder (or your preferred page builder) and begin designing your testimonial layout or use an existing template.
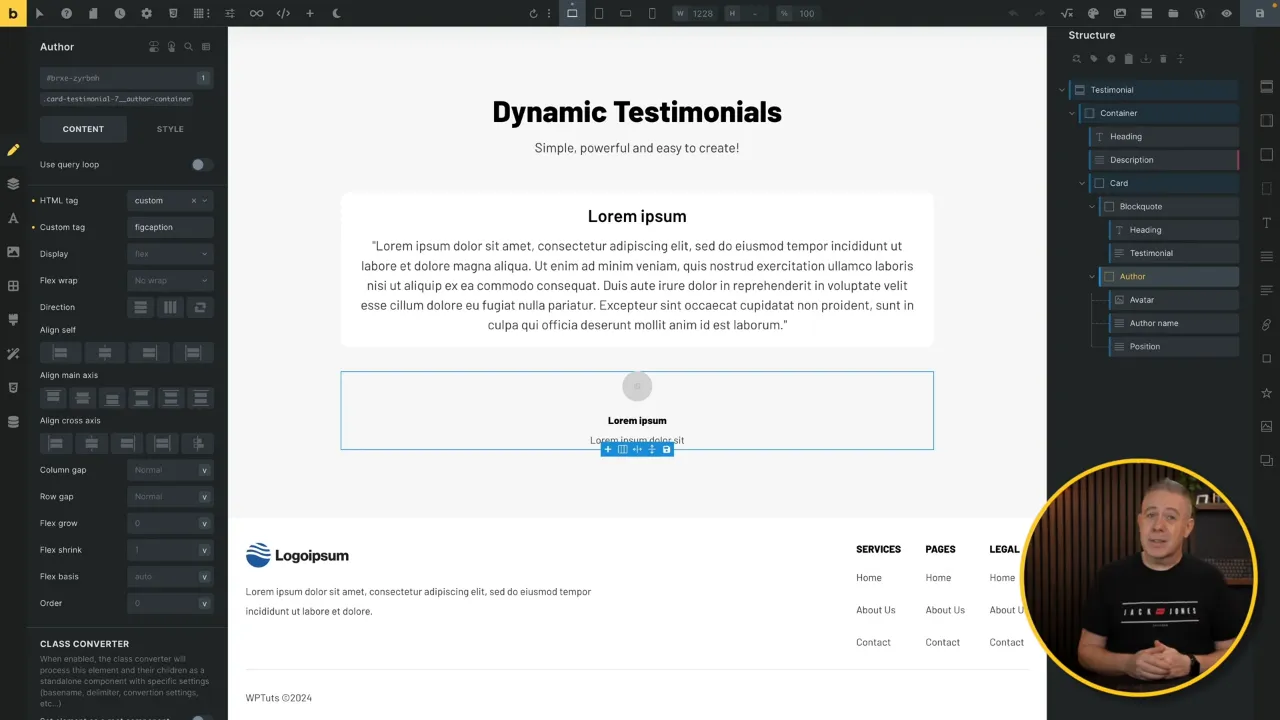
- Insert dynamic data into your layout by selecting elements (like title, content, and image) and linking them to the respective fields in your testimonial post type.
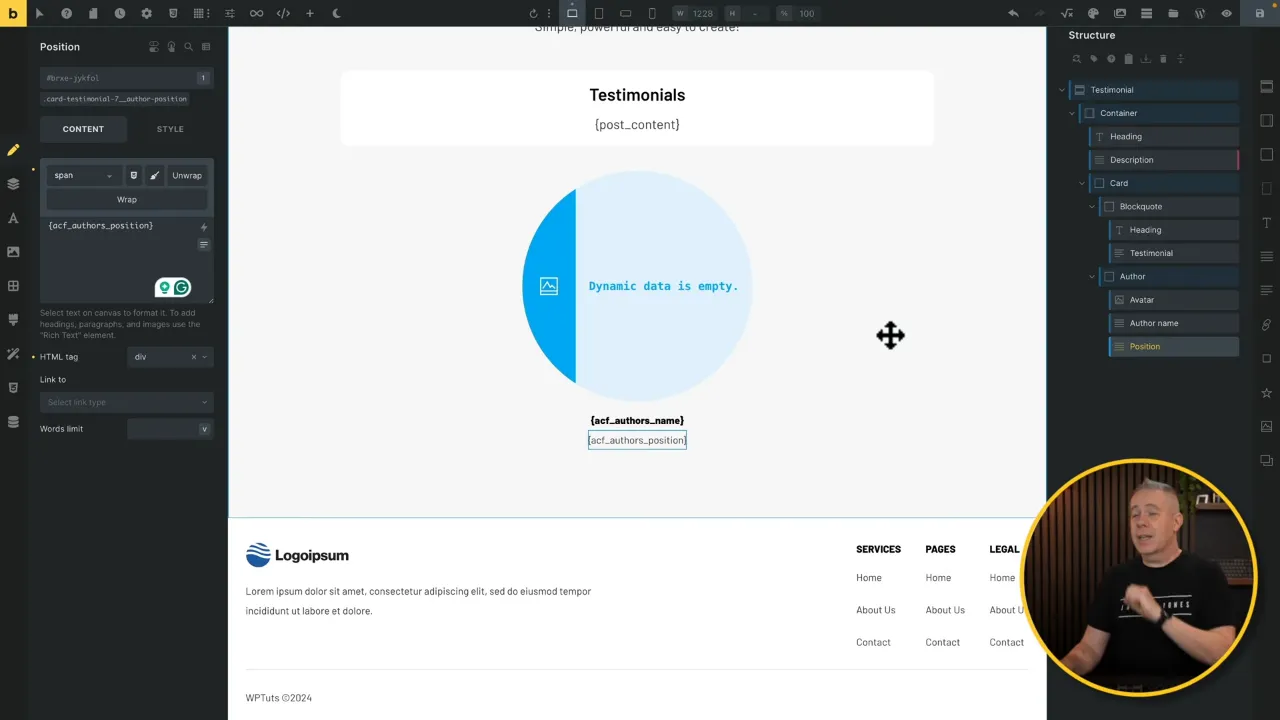
- Select the card and configure the ‘Use Query Loop’ option to display your created testimonial data. Save the template.

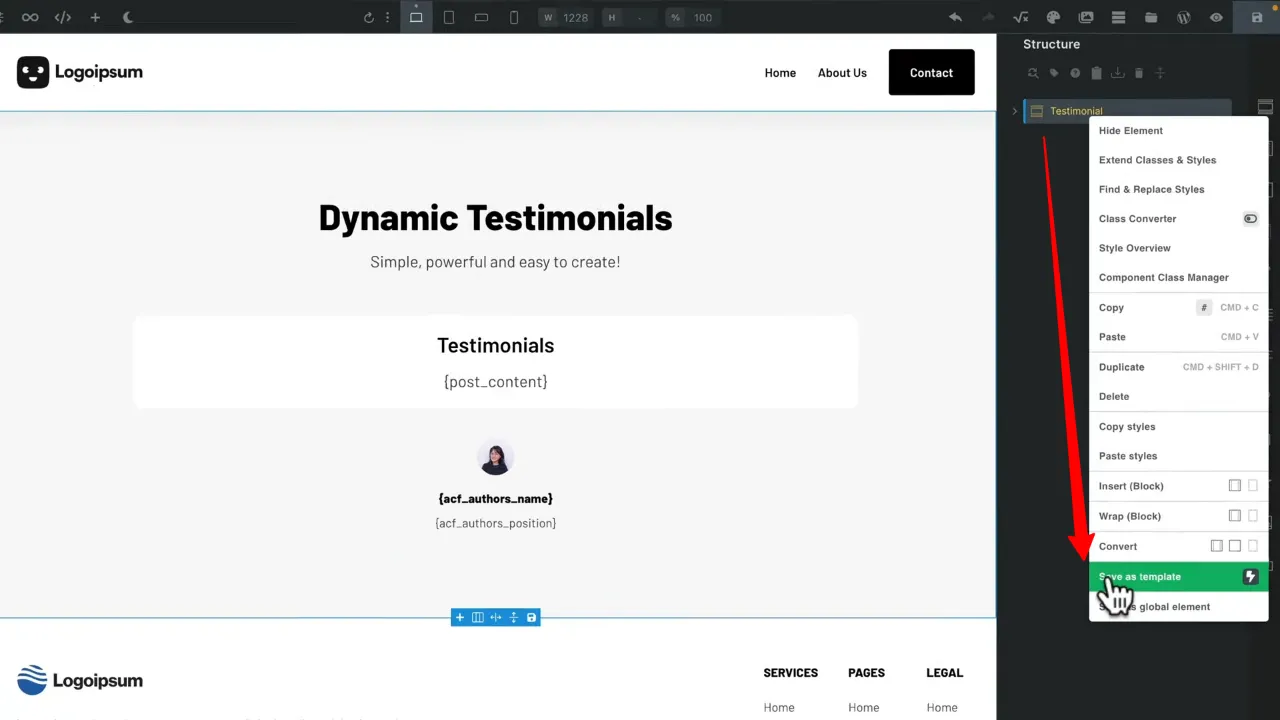
- Save your testimonial layout as a template for easy reuse throughout your website, ensuring consistency and efficiency.
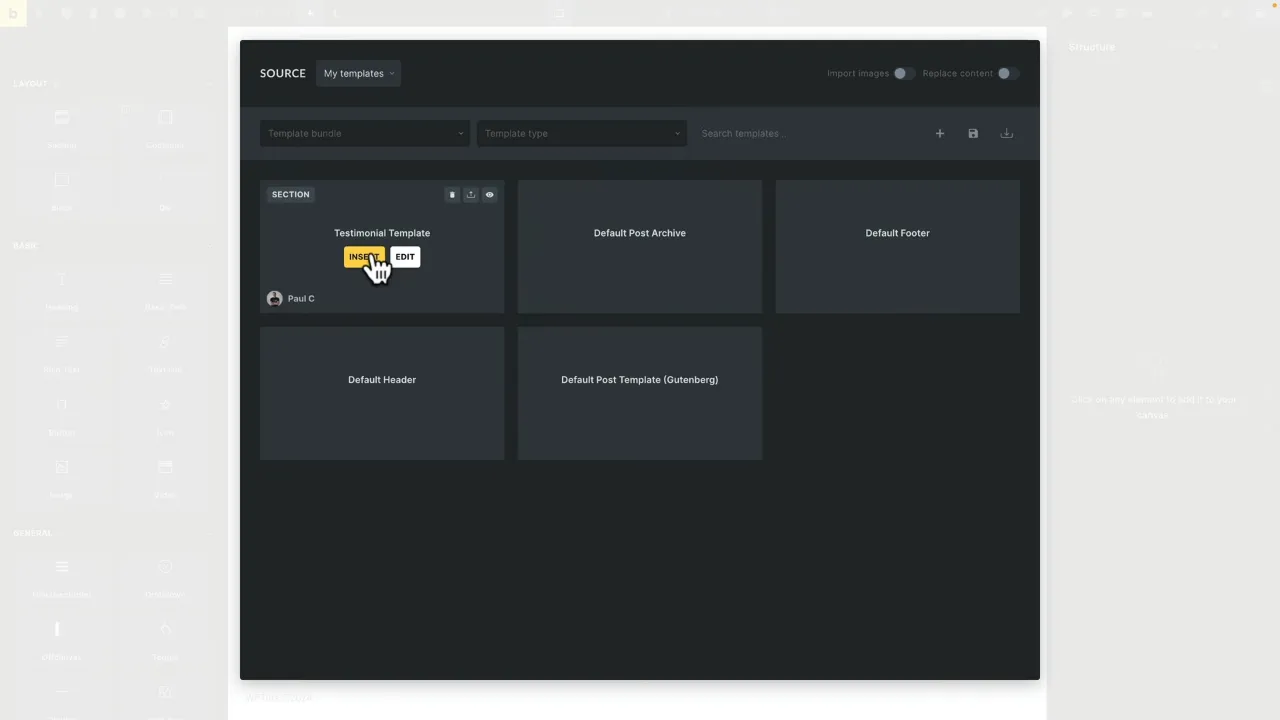
- Deploy your dynamic testimonials by inserting the saved template into any page or post, automatically pulling in the latest testimonials according to your set criteria.
Official Documentation
Create Dynamic Testimonials – Conclusion
Leveraging ACF and Bricks Builder to create dynamic testimonials allows for a highly customizable and efficient way to showcase user feedback. By following these steps, you can enhance your website’s credibility and provide a personalized experience for your visitors, all while streamlining content management on the backend.
