Bricks Builder Loop Grid Design empowers web designers and WordPress enthusiasts to create visually appealing and dynamic layouts with ease. The integration of Advanced Themer’s Visual CSS Grid with Bricks Builder offers an innovative approach to designing sophisticated and responsive grid layouts. This tutorial walks you through the process of enhancing your Bricks Builder Loop Grid design using Advanced Themer’s capabilities.
Prerequisites
Please make sure you have the following installed and activated:
Bricks Builder Loop Grid Design with Advanced Themer – Instructions
- Create a blank page in Bricks Builder.
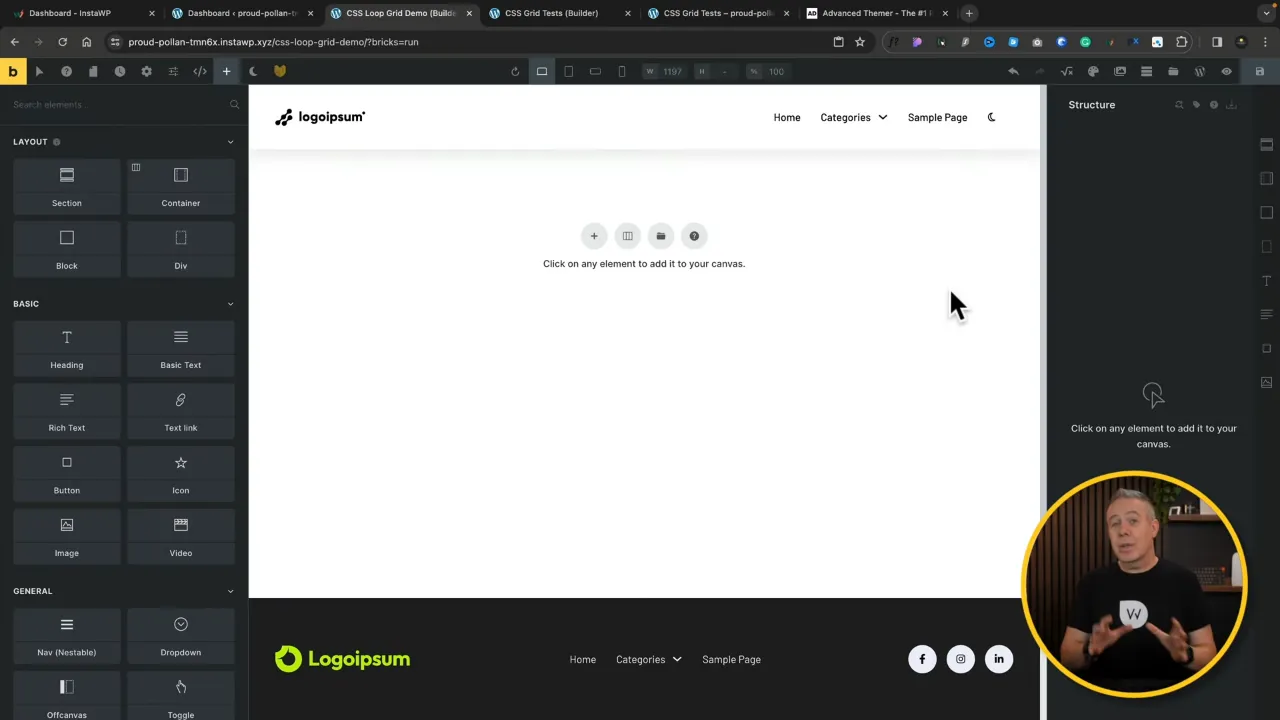
- Insert a new section and place a container within it. This container will serve as the grid area.
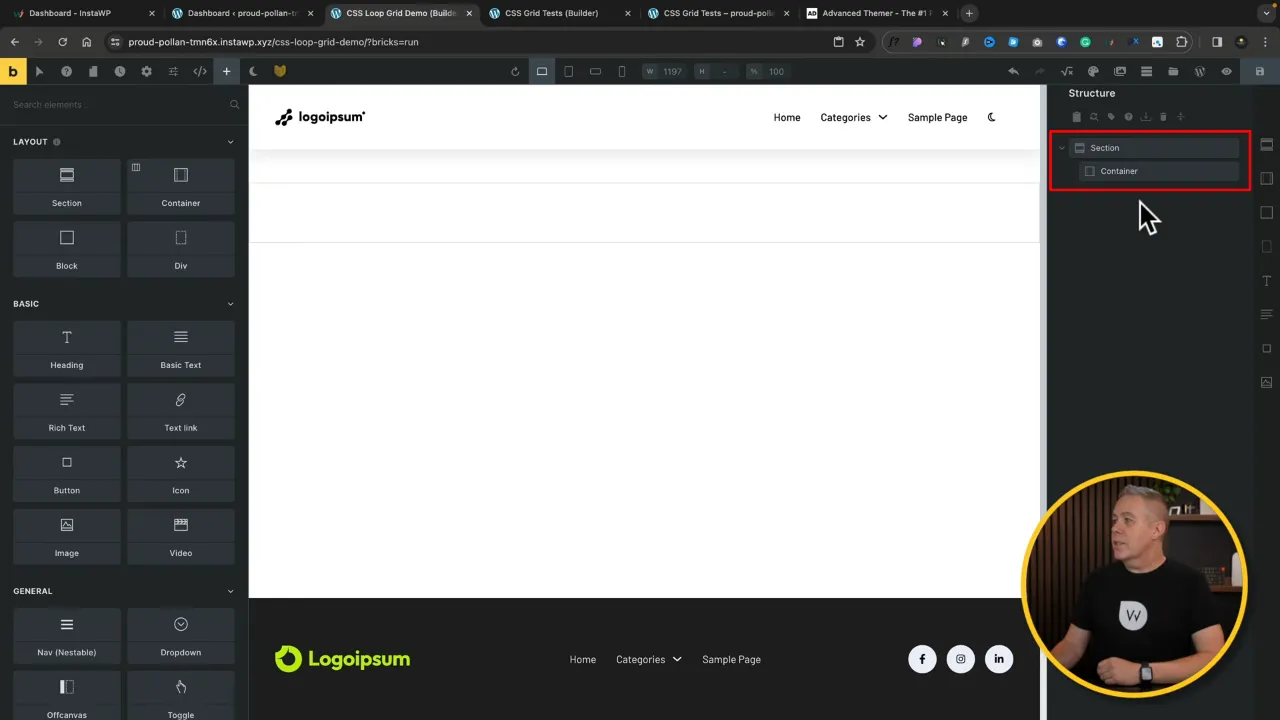
- Insert a block inside the container. This block will represent an individual loop item in the grid.

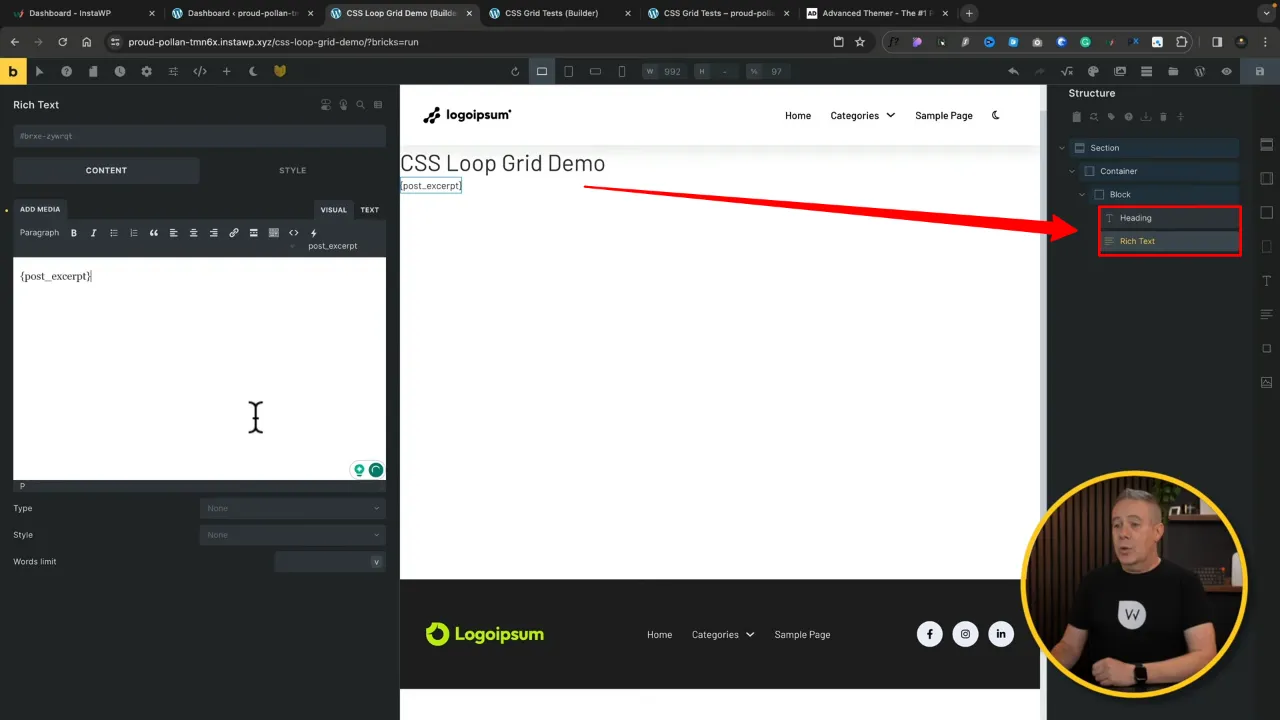
- Add a heading and rich text. Set the heading to display dynamic post titles and the rich text to show post excerpts.
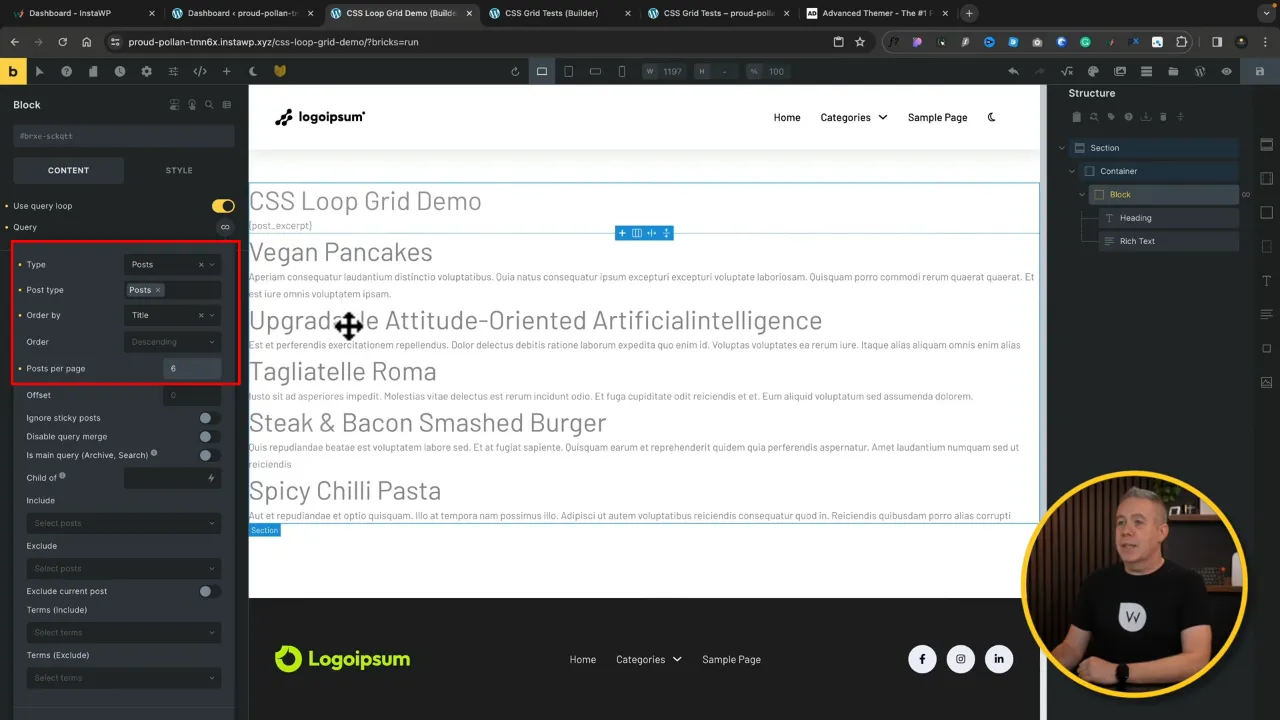
- Select the block and configure the query loop, selecting ‘posts’ as your content source and setting a limit (e.g., six results).
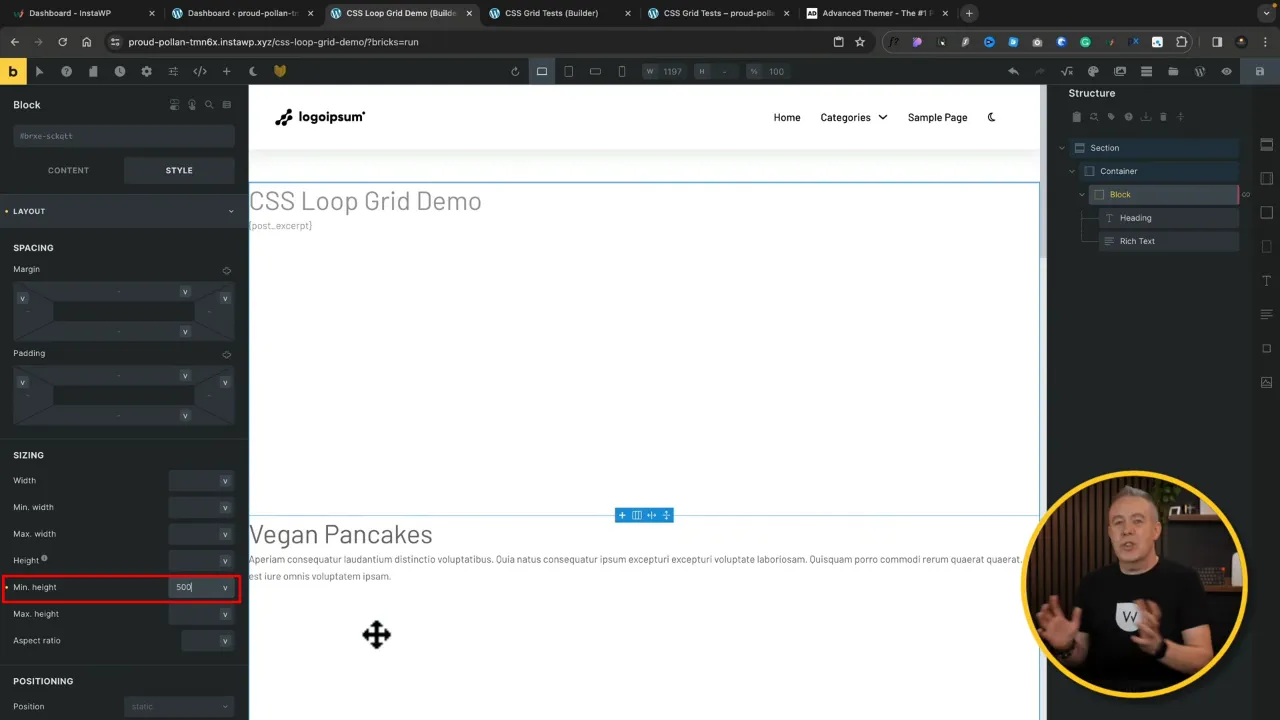
- Select the block and go to Style > Layout:
Assign a minimum height (e.g. 500px).
Add a dynamic background featuring the post’s featured image.
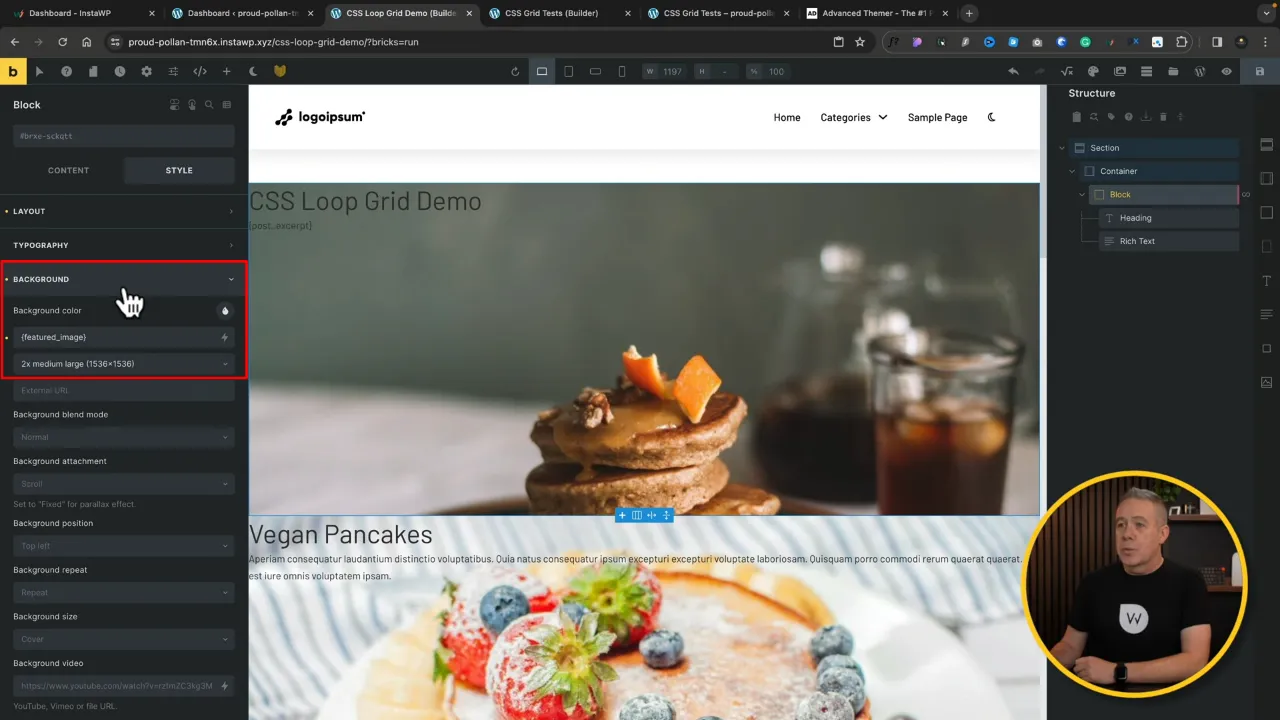
Add a gradient overlay for aesthetic enhancement.

- Set the content to align at the bottom via the Content Tab and apply styling as needed.
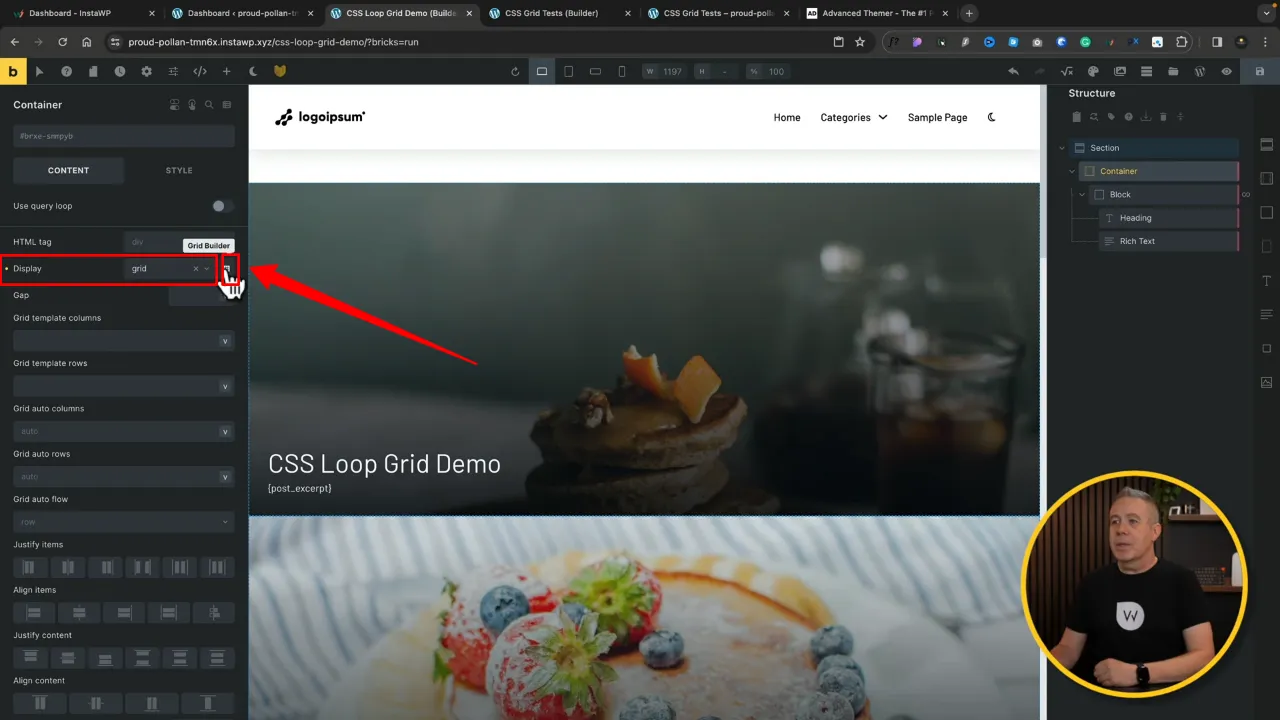
- Select the container and change the display mode from
flextogrid.
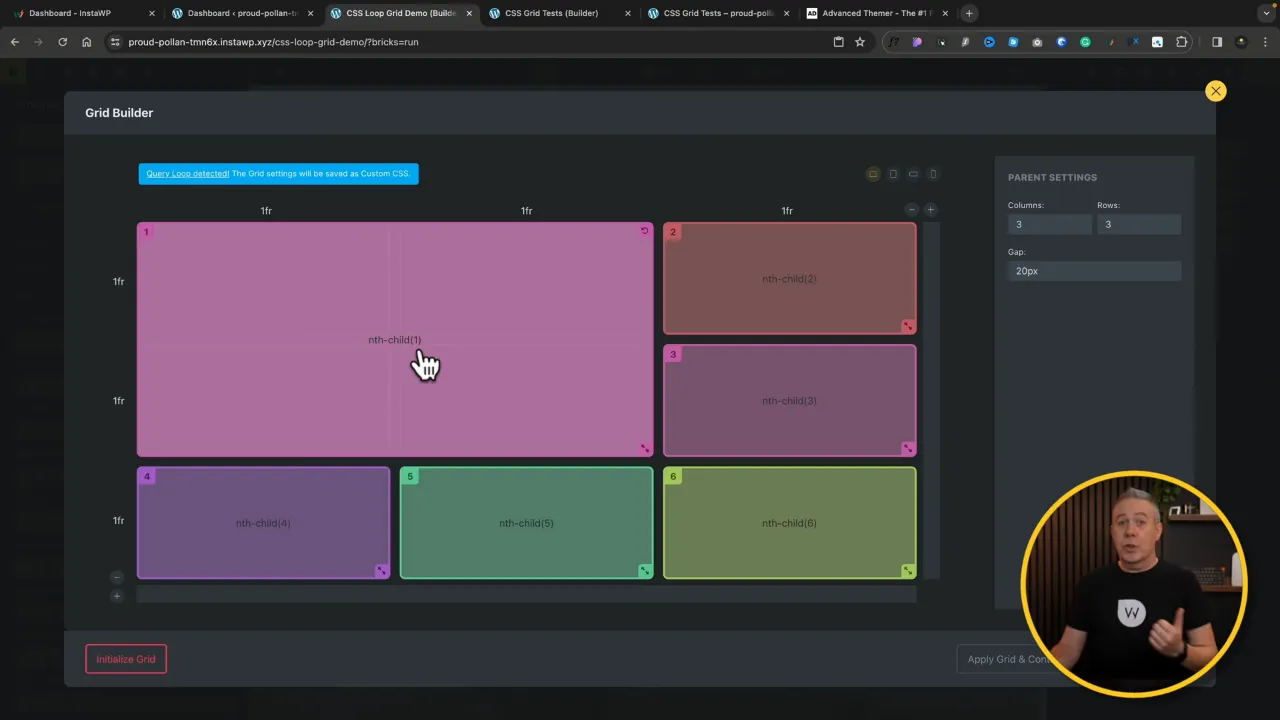
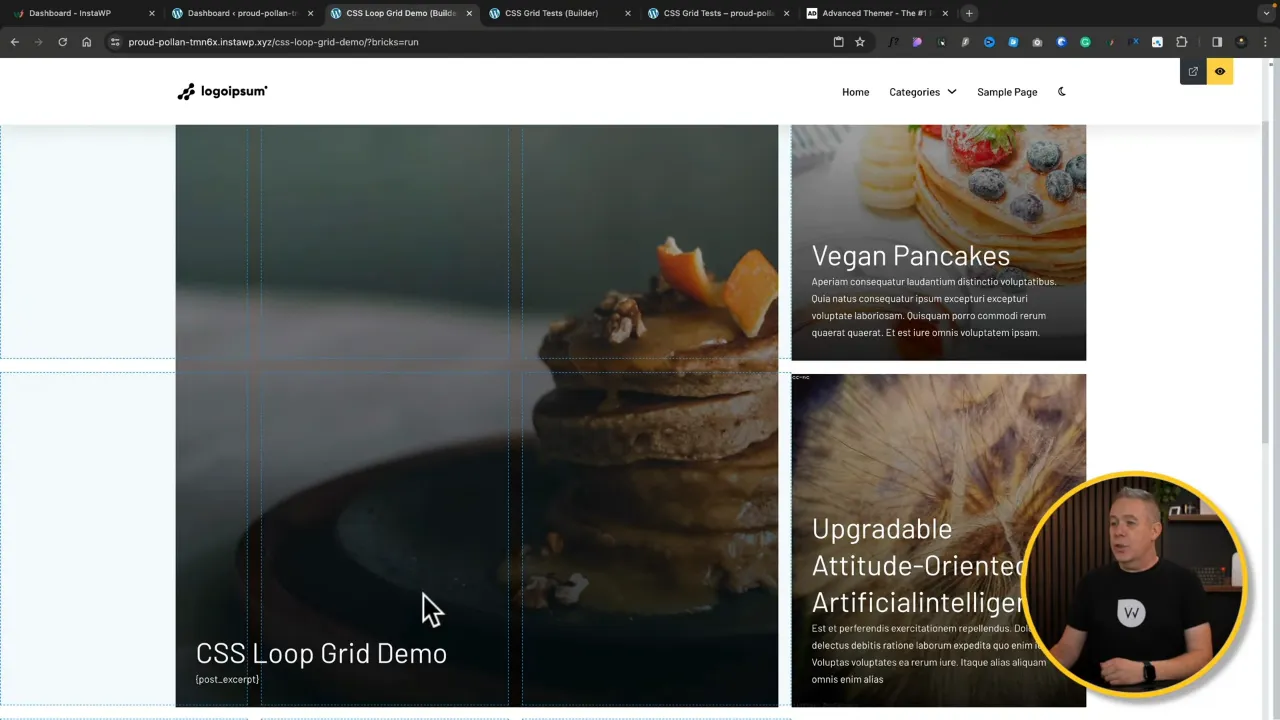
- Use the visual grid builder to design your desired layout, such as a 3×3 grid. Adjust the grid cells to match your layout preference, ensuring a balanced and visually pleasing arrangement.
- Save and preview your layout, making adjustments as necessary to achieve the desired design.
Official Documentation
Bricks Builder Loop Grid Design with Advanced Themer – Conclusion
This tutorial demonstrates the versatility and power of using Advanced Themer’s Visual CSS Grid with Bricks Builder Loop Grid Design. By following these steps, you can create unique and engaging layouts for your WordPress site, enhancing both aesthetics and functionality.
